This tutorial is an extension of our 55" Longboard Dancer tutorial where we demonstrated the process involved with laminating a board longer than the standard 48" long skateboard veneers. In that tutorial you may have noticed that the top side of the deck had a unique grip tape pattern... well, this is how we did it!

Tools Needed:
File
Sharp Utility Knife
Tape
Materials Needed:
Grip Tape (we used 9" wide Jessup street deck grip)
Image (printed to the size you want it transferred to your grip tape)
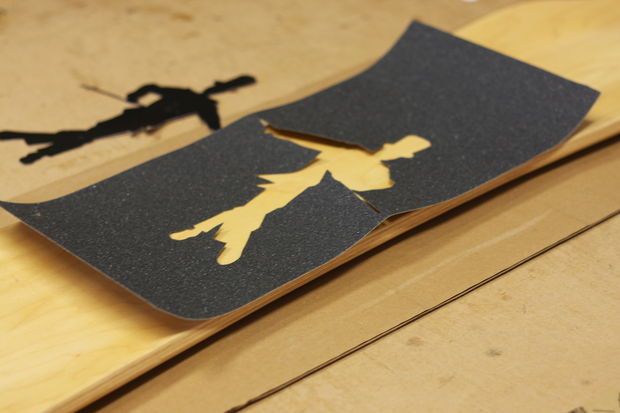
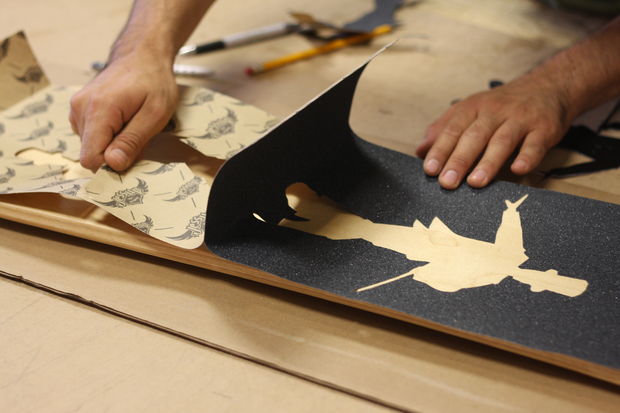
To grip such a unique handmade longboard, we needed something more than just the average solid grip tape job on the top side of the deck. We decided to cut out a small design that would let the natural maple veneer show through the grip itself. Sticking with the 'dancer' theme, we found a silhouette image of a ball room dancer in a top hat for our design.
Step 1: Layout Artwork
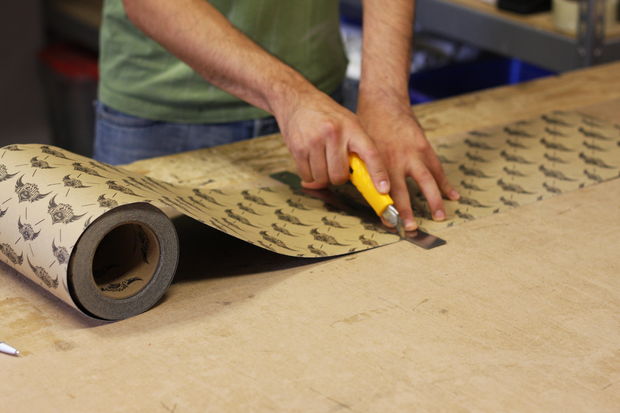
We cut a length of grip tape at 20" long to apply our image to. This will end up in the middle of the deck and is a nice short piece to work with.

After taping our image to the back (paper) side of the grip tape, we start cutting out the areas we want the wood to show through.
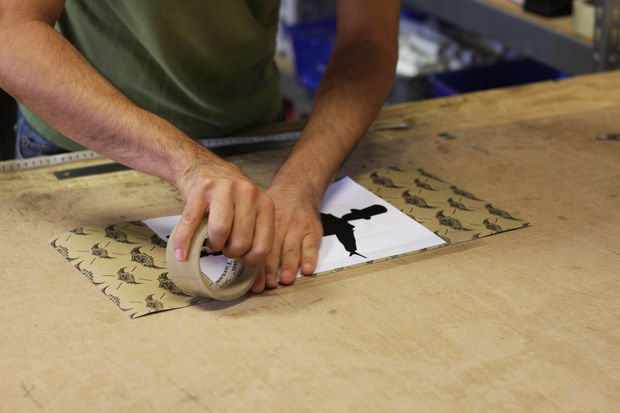
TIP: Remember to mirror (or flip) your image before printing if you want it to align a certain way on the grip. Because you are cutting your image from the back side of the grip, any image will show up in the reverse once it has been applied to the deck. This is especially important if you have any text you want to cut out.
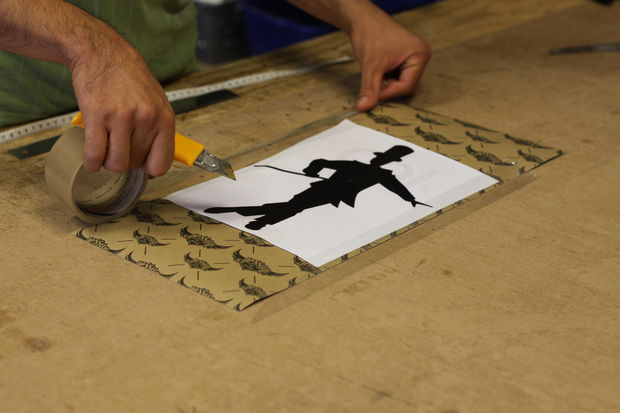
Step 2: Cut Design
Cutting from the back side of the grip tape is always easier than from the front side.
It may take a bit more thinking to visualize what it will look like in the end, but it is much quicker to cut and won't dull your knife as quickly as cutting the rough top side of the grip.


Using the printed image as a guide, we were able to cut out this simple design in about 10 minutes with the utility knife. Grip tape art can get pretty intricate if you want it to be, so taking your time with the knife during this step is important.
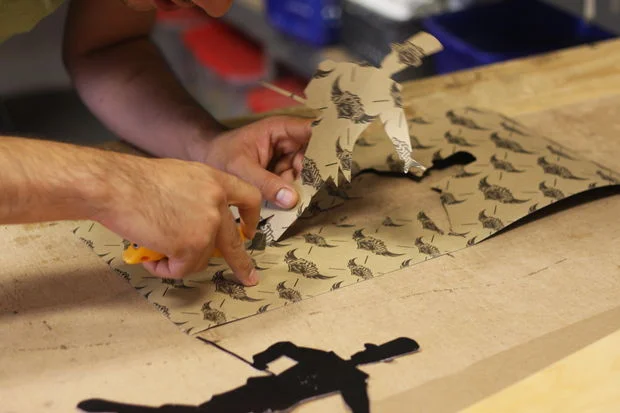

Make sure to keep any interior pieces that you may need to cut out and stick later. For example, the inside of the letter 'O' or 'A'.
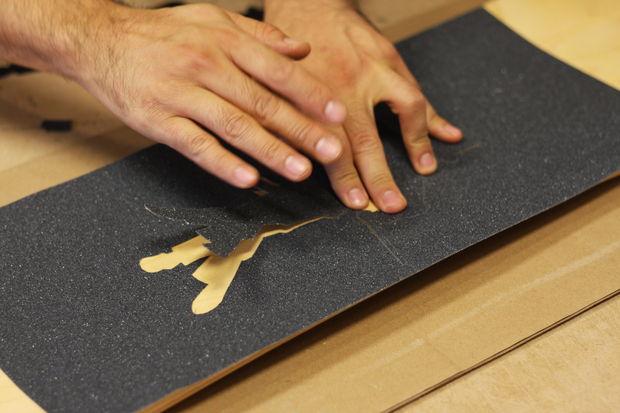
Step 3: Stick Grip

Peel the paper backing off of the grip tape, and carefully stick the sheets in place on the deck.
Grip tape is quite tacky, so it can be difficult to re-position a piece if it gets stuck in the wrong spot.

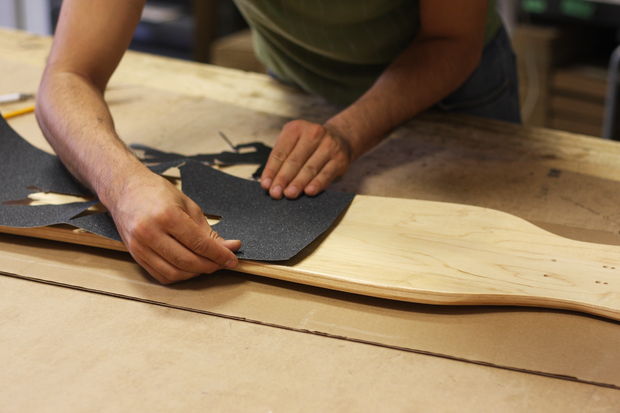
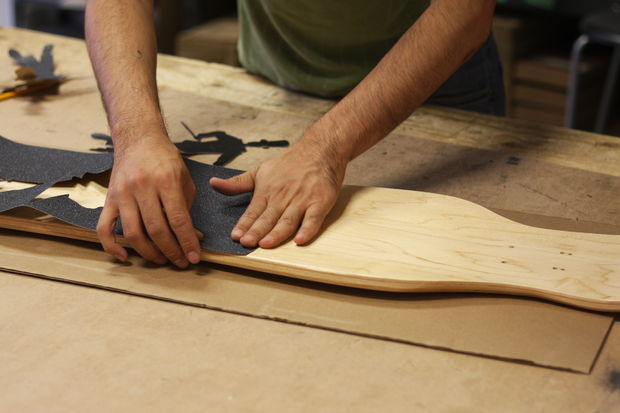
When laying down the areas of grip that are intricately cut out, be extra careful when peeling and sticking those parts to make sure they are in the right position and do not rip.
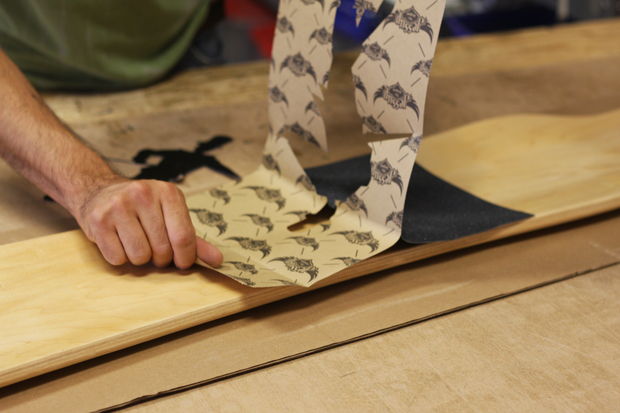


TIP: If you still have the offcuts from the design you cut out from the grip, you can use these sections to make sure your image is properly positioned. Simply lay the offcut piece in the open area of grip, and check to see if it lines up. You can also use this trick to help position those interior pieces that need to stuck down to complete the image.


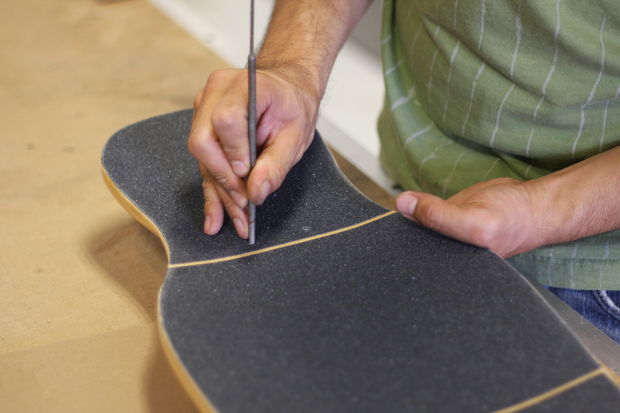
Step 4: File Edges
Before you start cutting off the excess grip tape from your deck, another great tip is to make sure your tape is pressed down firmly by rolling an old wheel over the surface.
This helps get out any small bubbles or areas that may not be fully stuck to the deck.

Once the grip is pressed down firmly, you can take a file and start breaking the edges of the tape before cutting.


You can use a file, or pretty much any straight metal tool (shaft of a screw driver, ruler edge, etc), and run it along the edge of your board on top of the grip.
This will help remove some of the grit in this area which creates a scoring line for your blade.


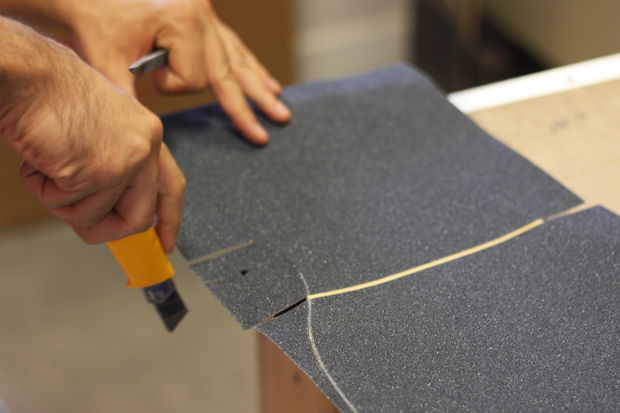
Step 5: Cut Excess
Once you have the edges scored, you can use the utility knife to cut off the excess grip tape.
Extend the blade out and run it along the edge of the board from the bottom side.
This will act as a guide for your knife edge to smoothly run around your board while cutting at the same time.
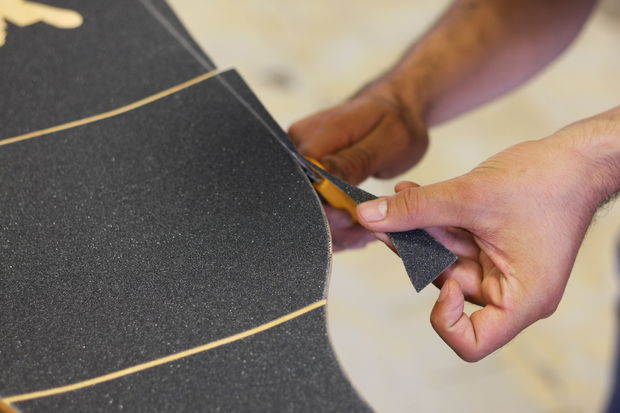


TIP: You can fold up and use a small section of the grip tape off-cut to help smooth out any uneven edges around your deck.
It is pretty standard to have areas that may not have been cut as cleanly as the rest, and this can help fix that problem.

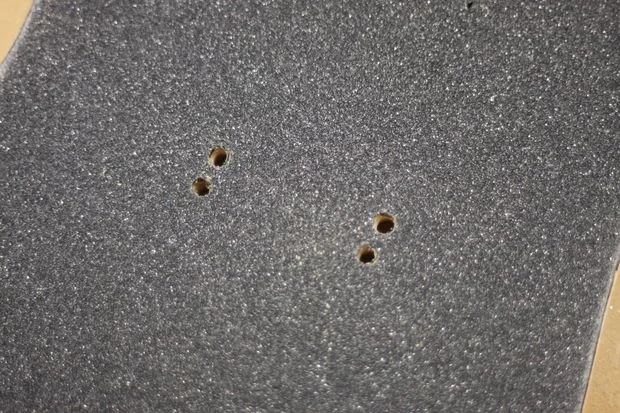
Step 6: Truck Holes
After the surface of your deck has been covered by the grip tape, you will most likely need to punch out the holes for your truck bolts.
The easiest way to do this is to poke a pilot hole through the grip from the bottom side of the deck.
This will enable you to easily see where the truck holes are from the top side of the board, and you can then use a file, knife, countersink bit or the truck bolts themselves to remove the rest of the material.

You want a clean truck hole so that when you are ready to mount the trucks, you are able to push the bolts through relatively easily.

Step 7: Finish

Your board is now fully gripped and ready to ride!
Hopefully this tutorial helps explain the basic principles of gripping your own skate/longboard and cutting out a unique design to make it that much more custom.