
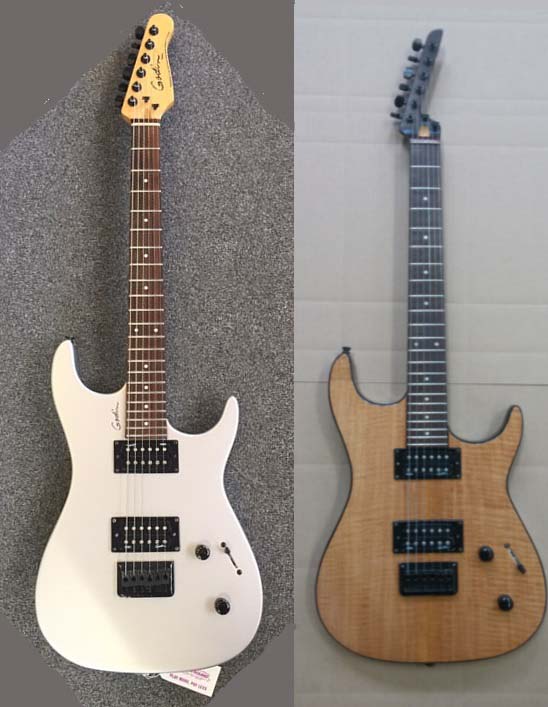
Dustin Brooks was a former co-op student who became an employee of Roarockit. He decided to update and refinish one of his very first and favourite guitars.
We asked Dustin to show and tell us all what he did. Check out the results!
Refurbishing the Body

Then sand off the previous finish.
First take apart the guitar, strings, neck, electrical components etc.
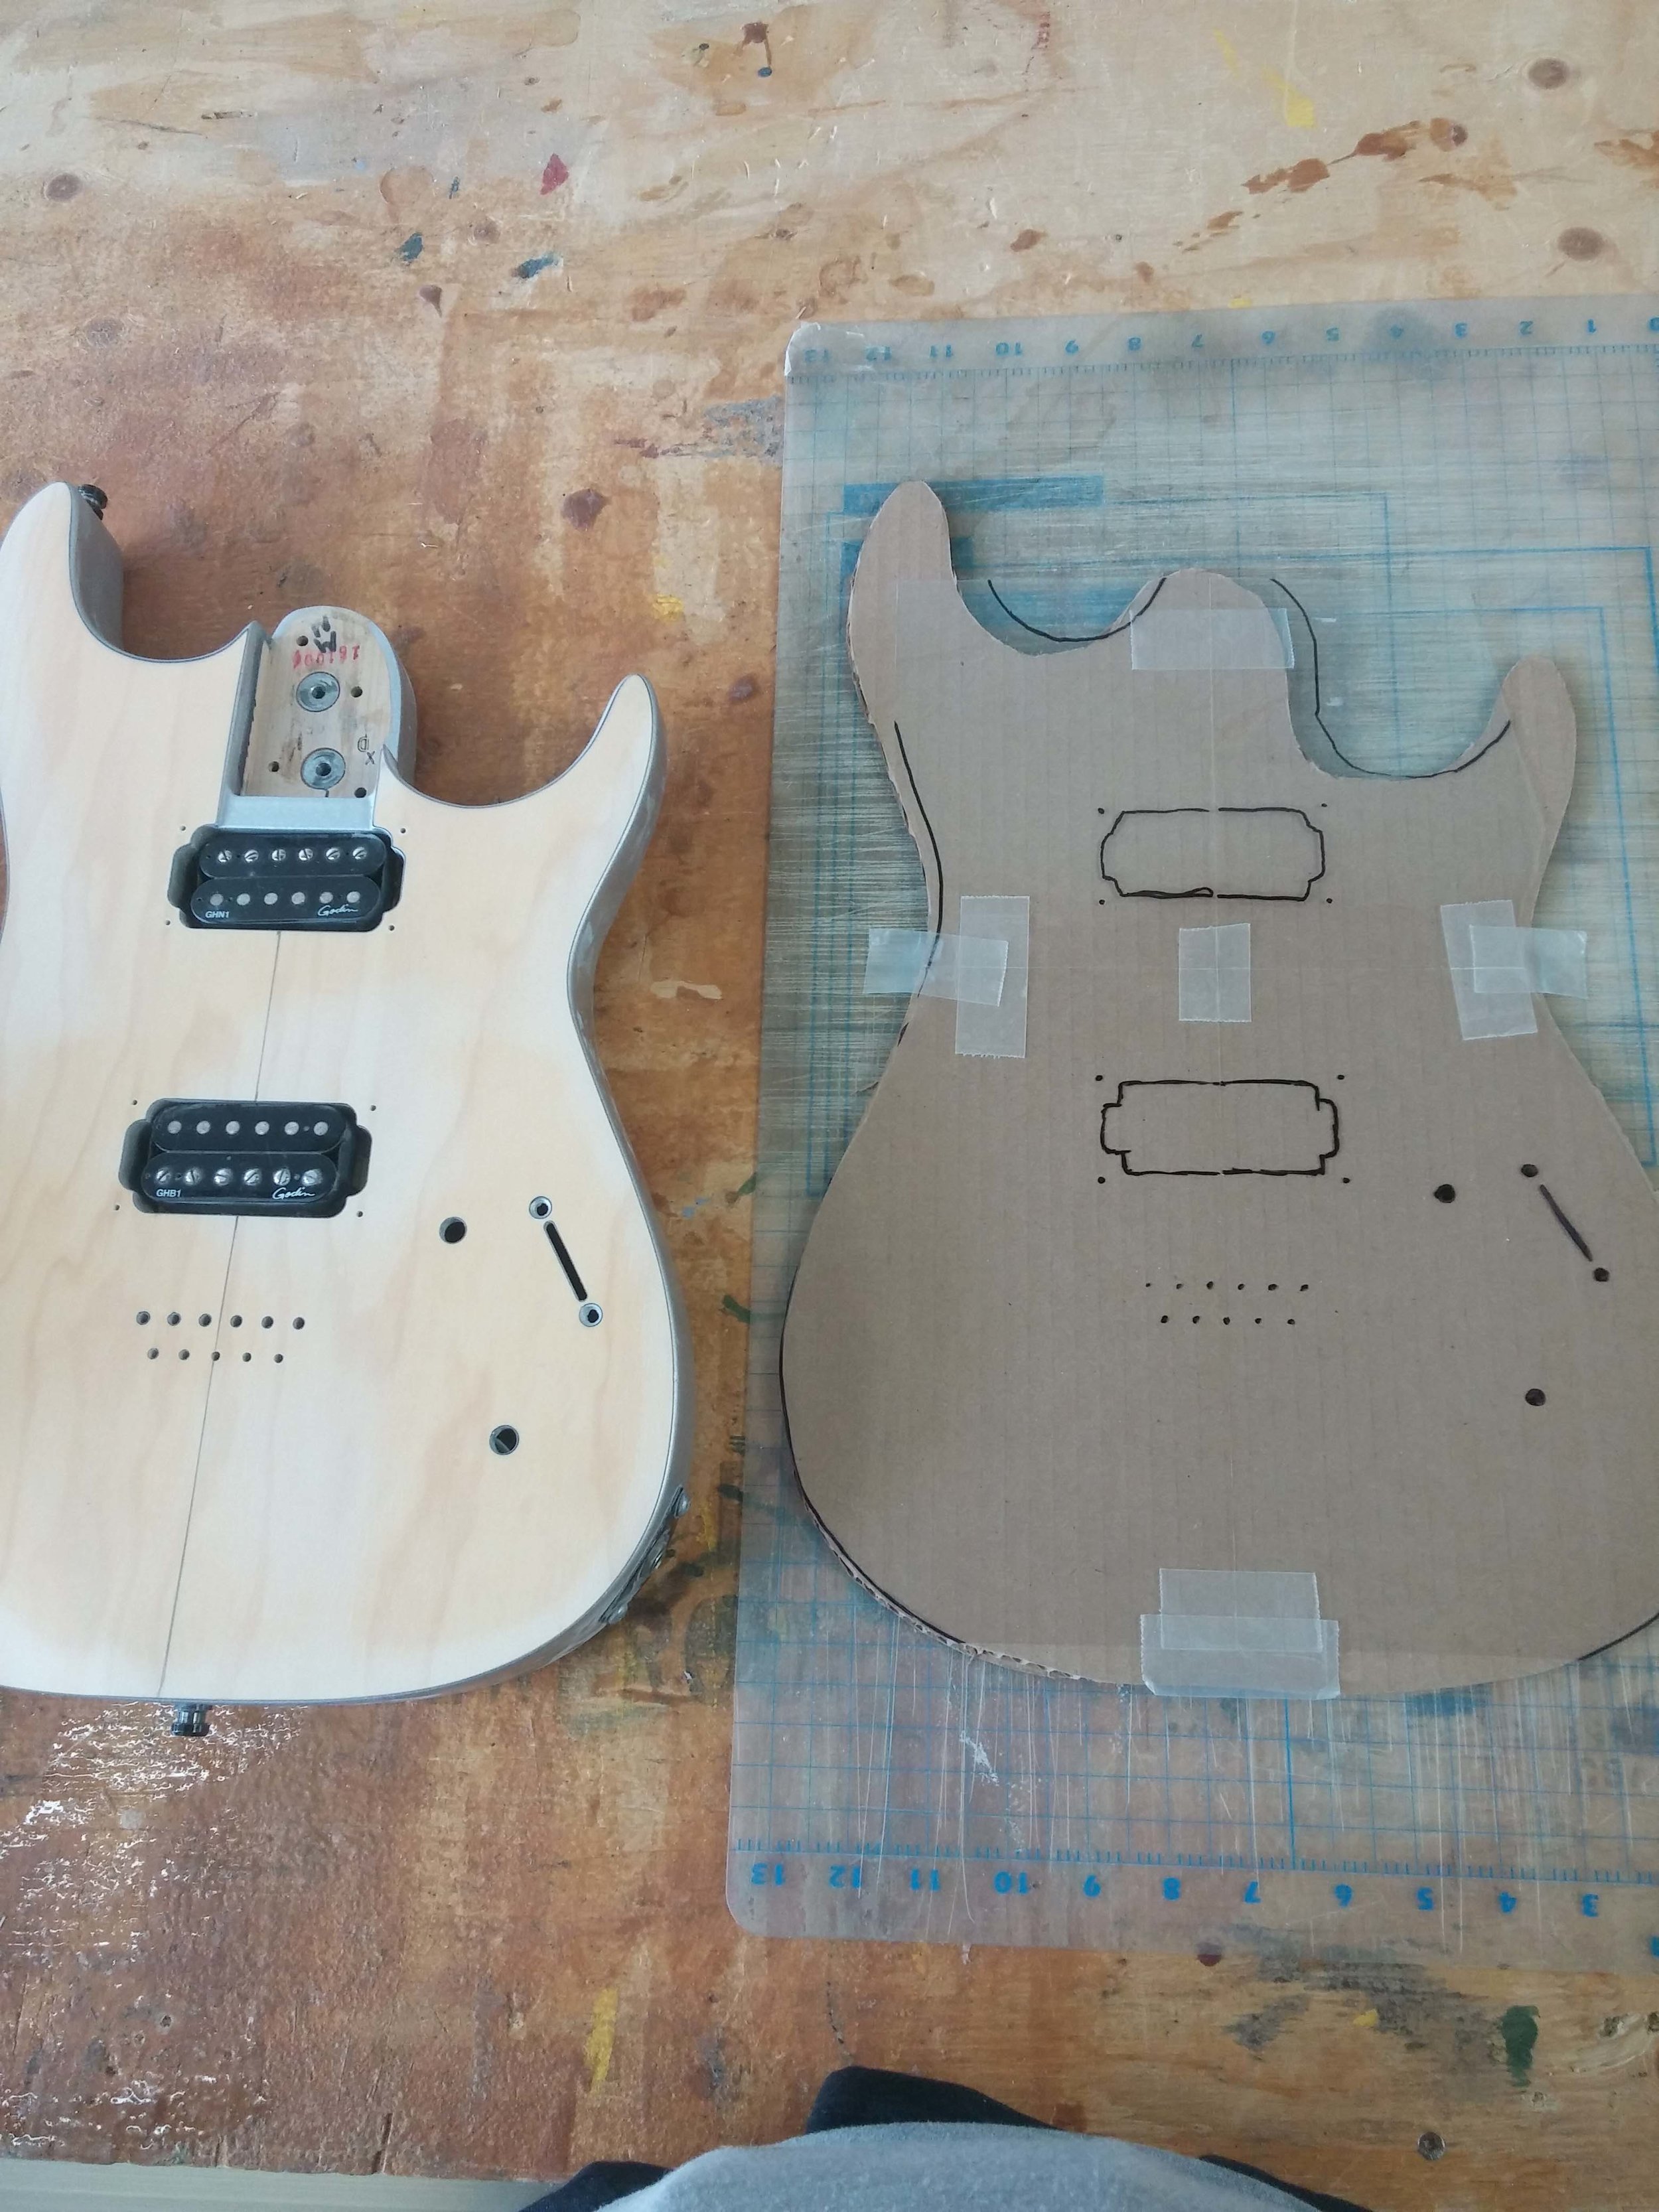

Create an acetate template for future reference.

Obtain a desired face sheet (ie. Curly Maple veneer).

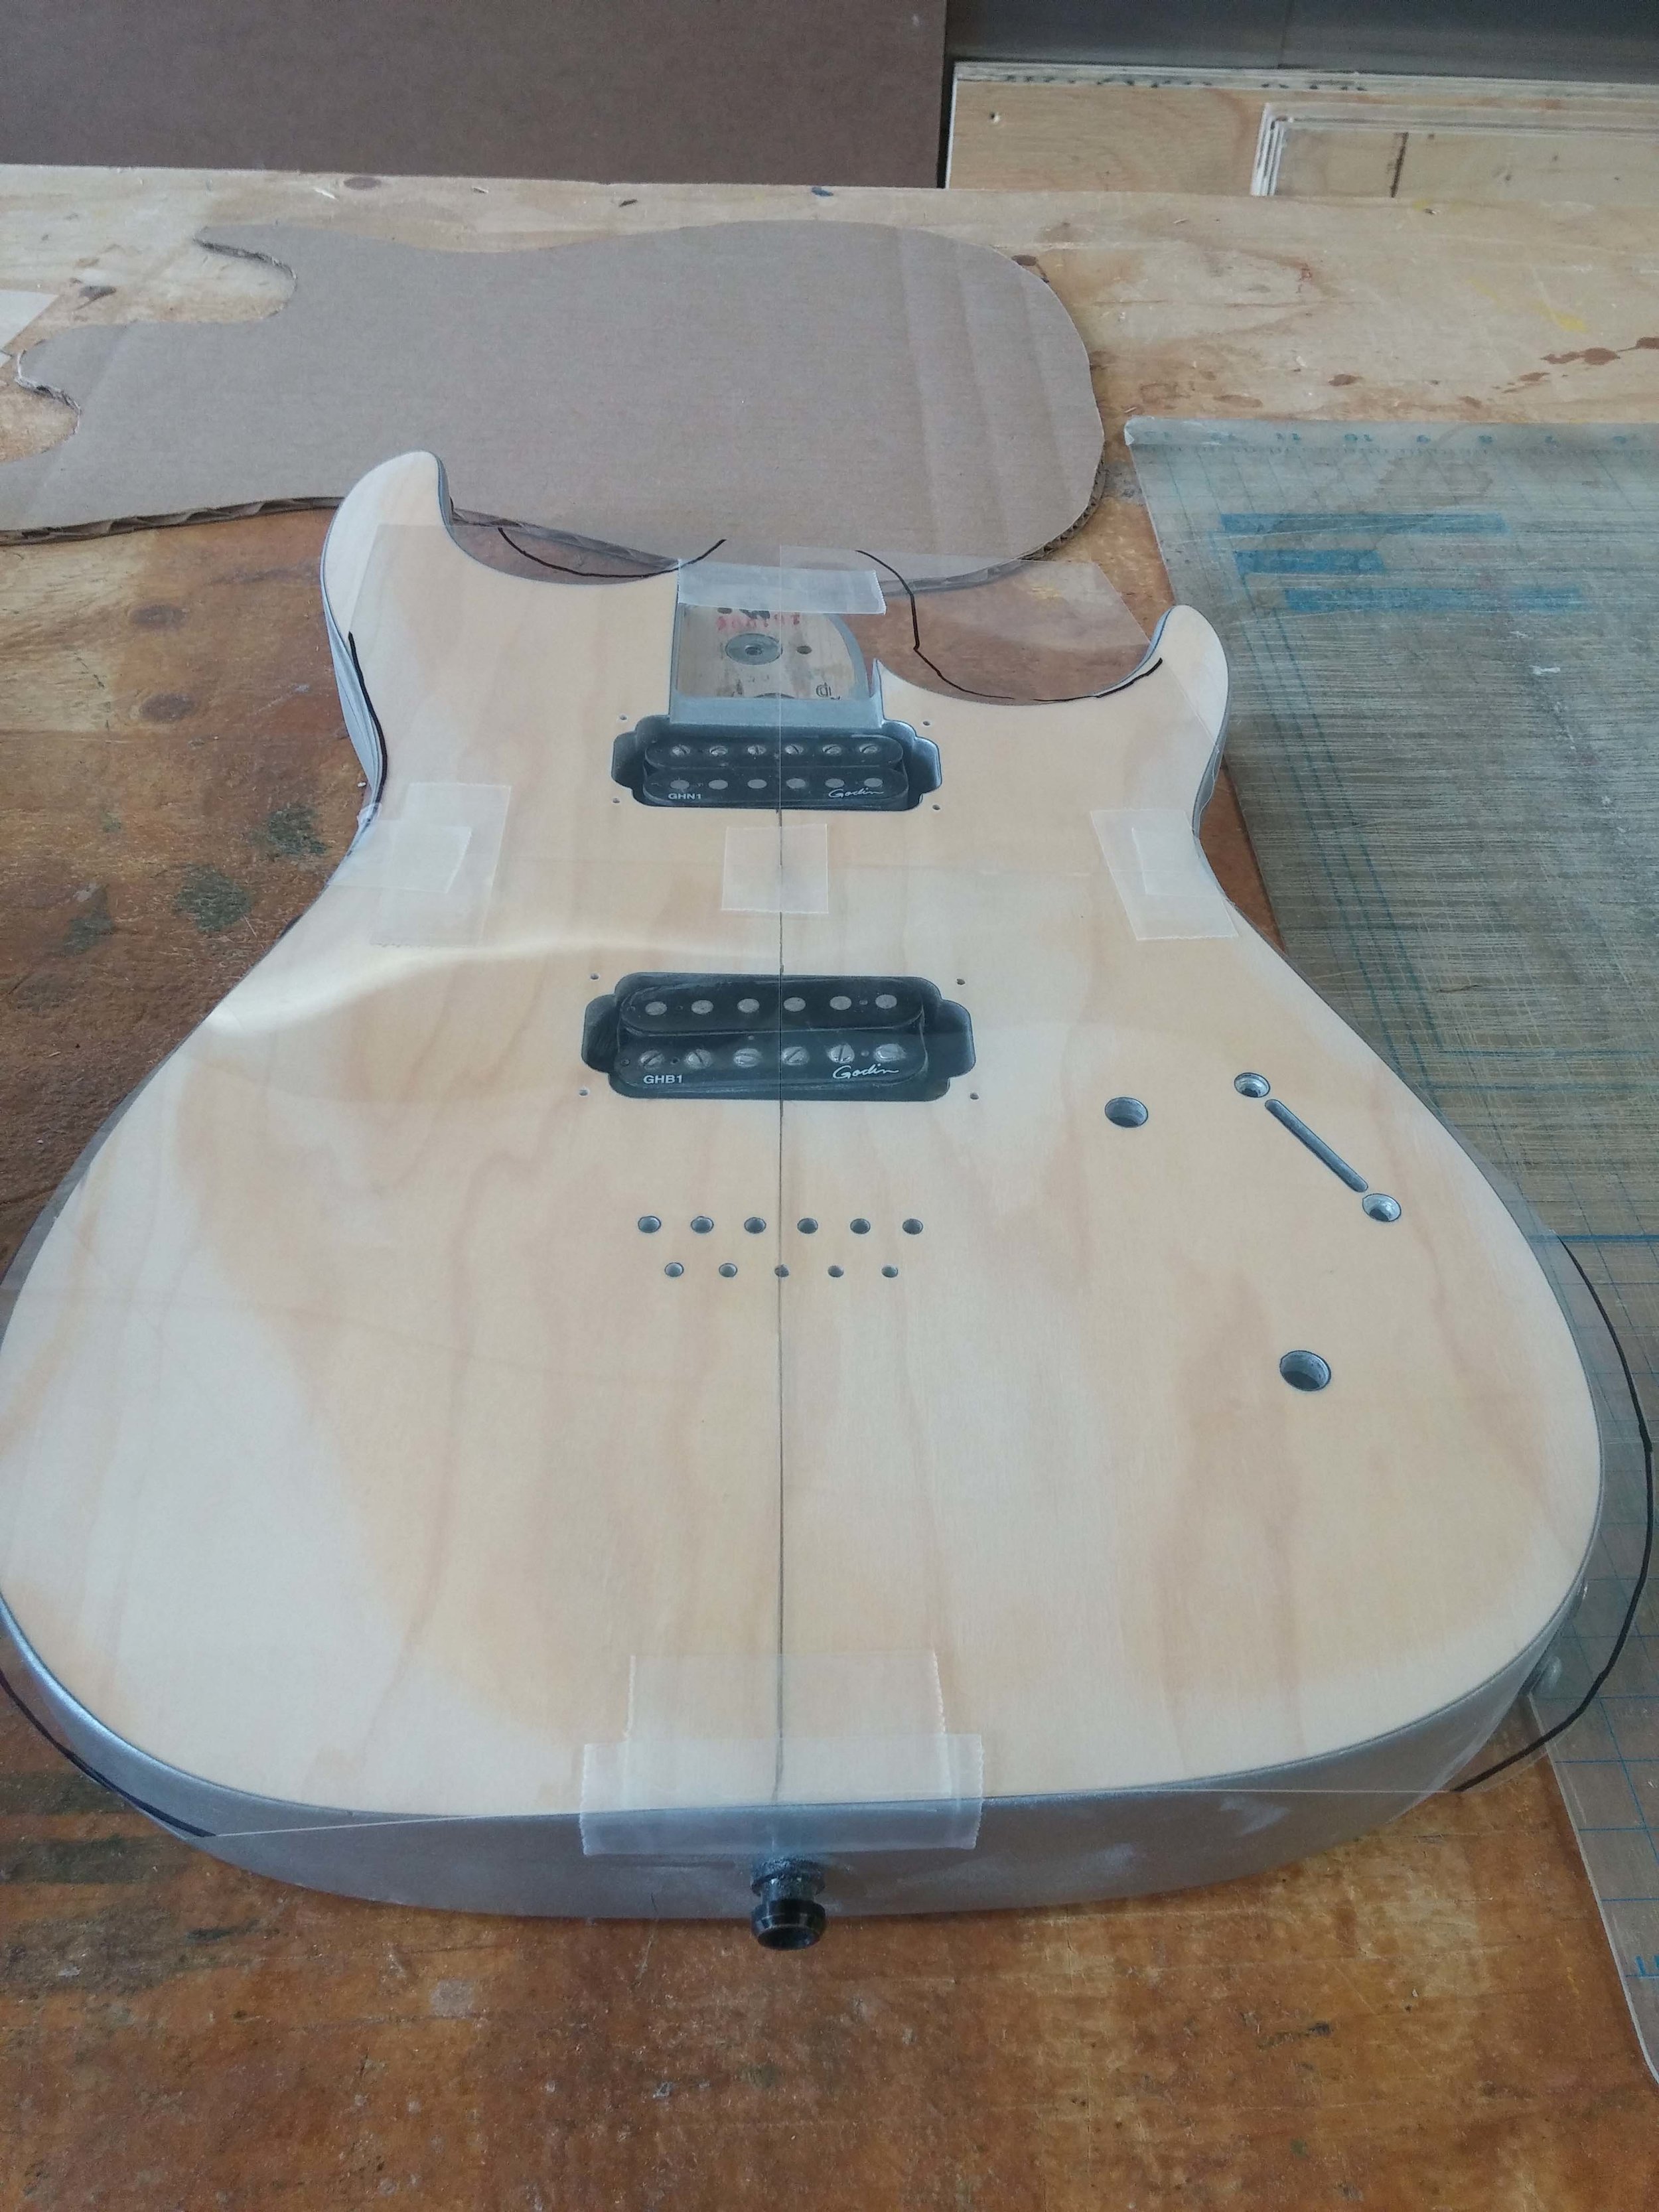
Cut face sheet roughly to the guitars body shape.
Use an exacto-knife and a round edge file to trim excess veneer to the size of the adhered face sheet to the contours of the guitar body

Use Roarockit’s Thin Air Press vacuum bag technology along with a composite adhesive (epoxy resin) to bond the new face sheet to the guitar body.
This image is not from this build, but it shows the method.
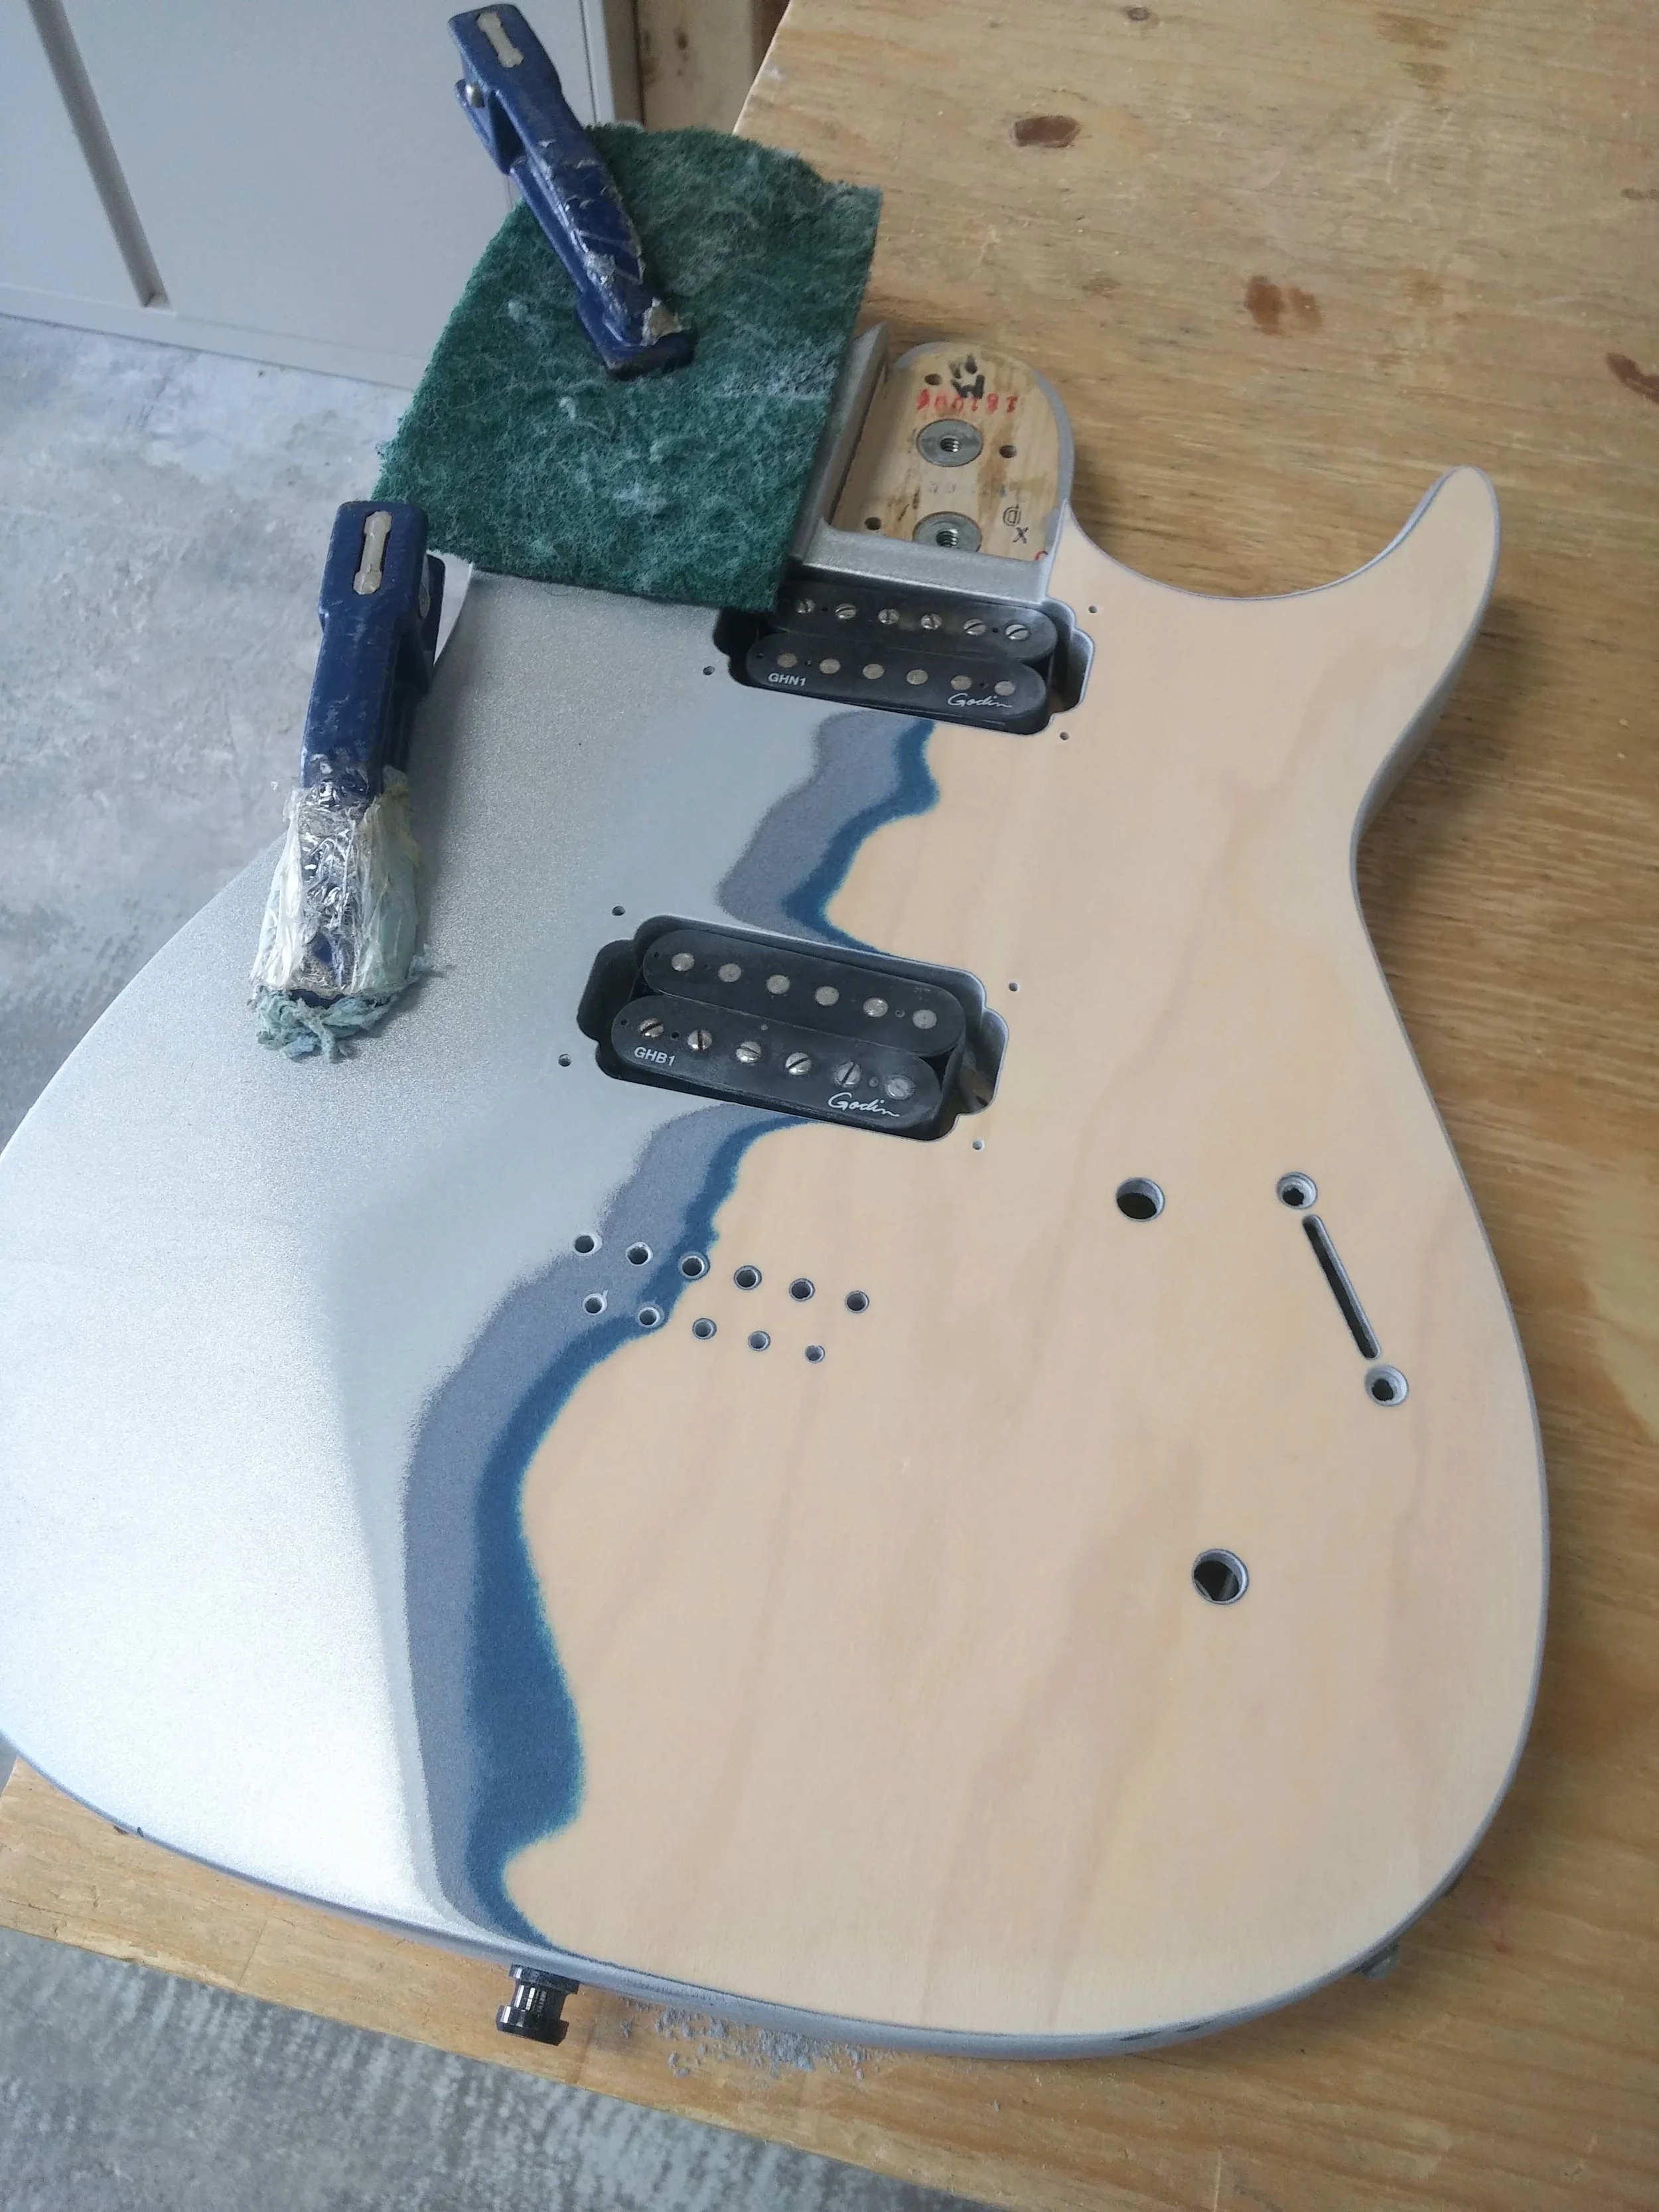
Tape guitar pick-ups to protect from over-spray
Spray guitar body with polyurethane finish (multiple coats, sanding in between)


Tape off sealed and dried face
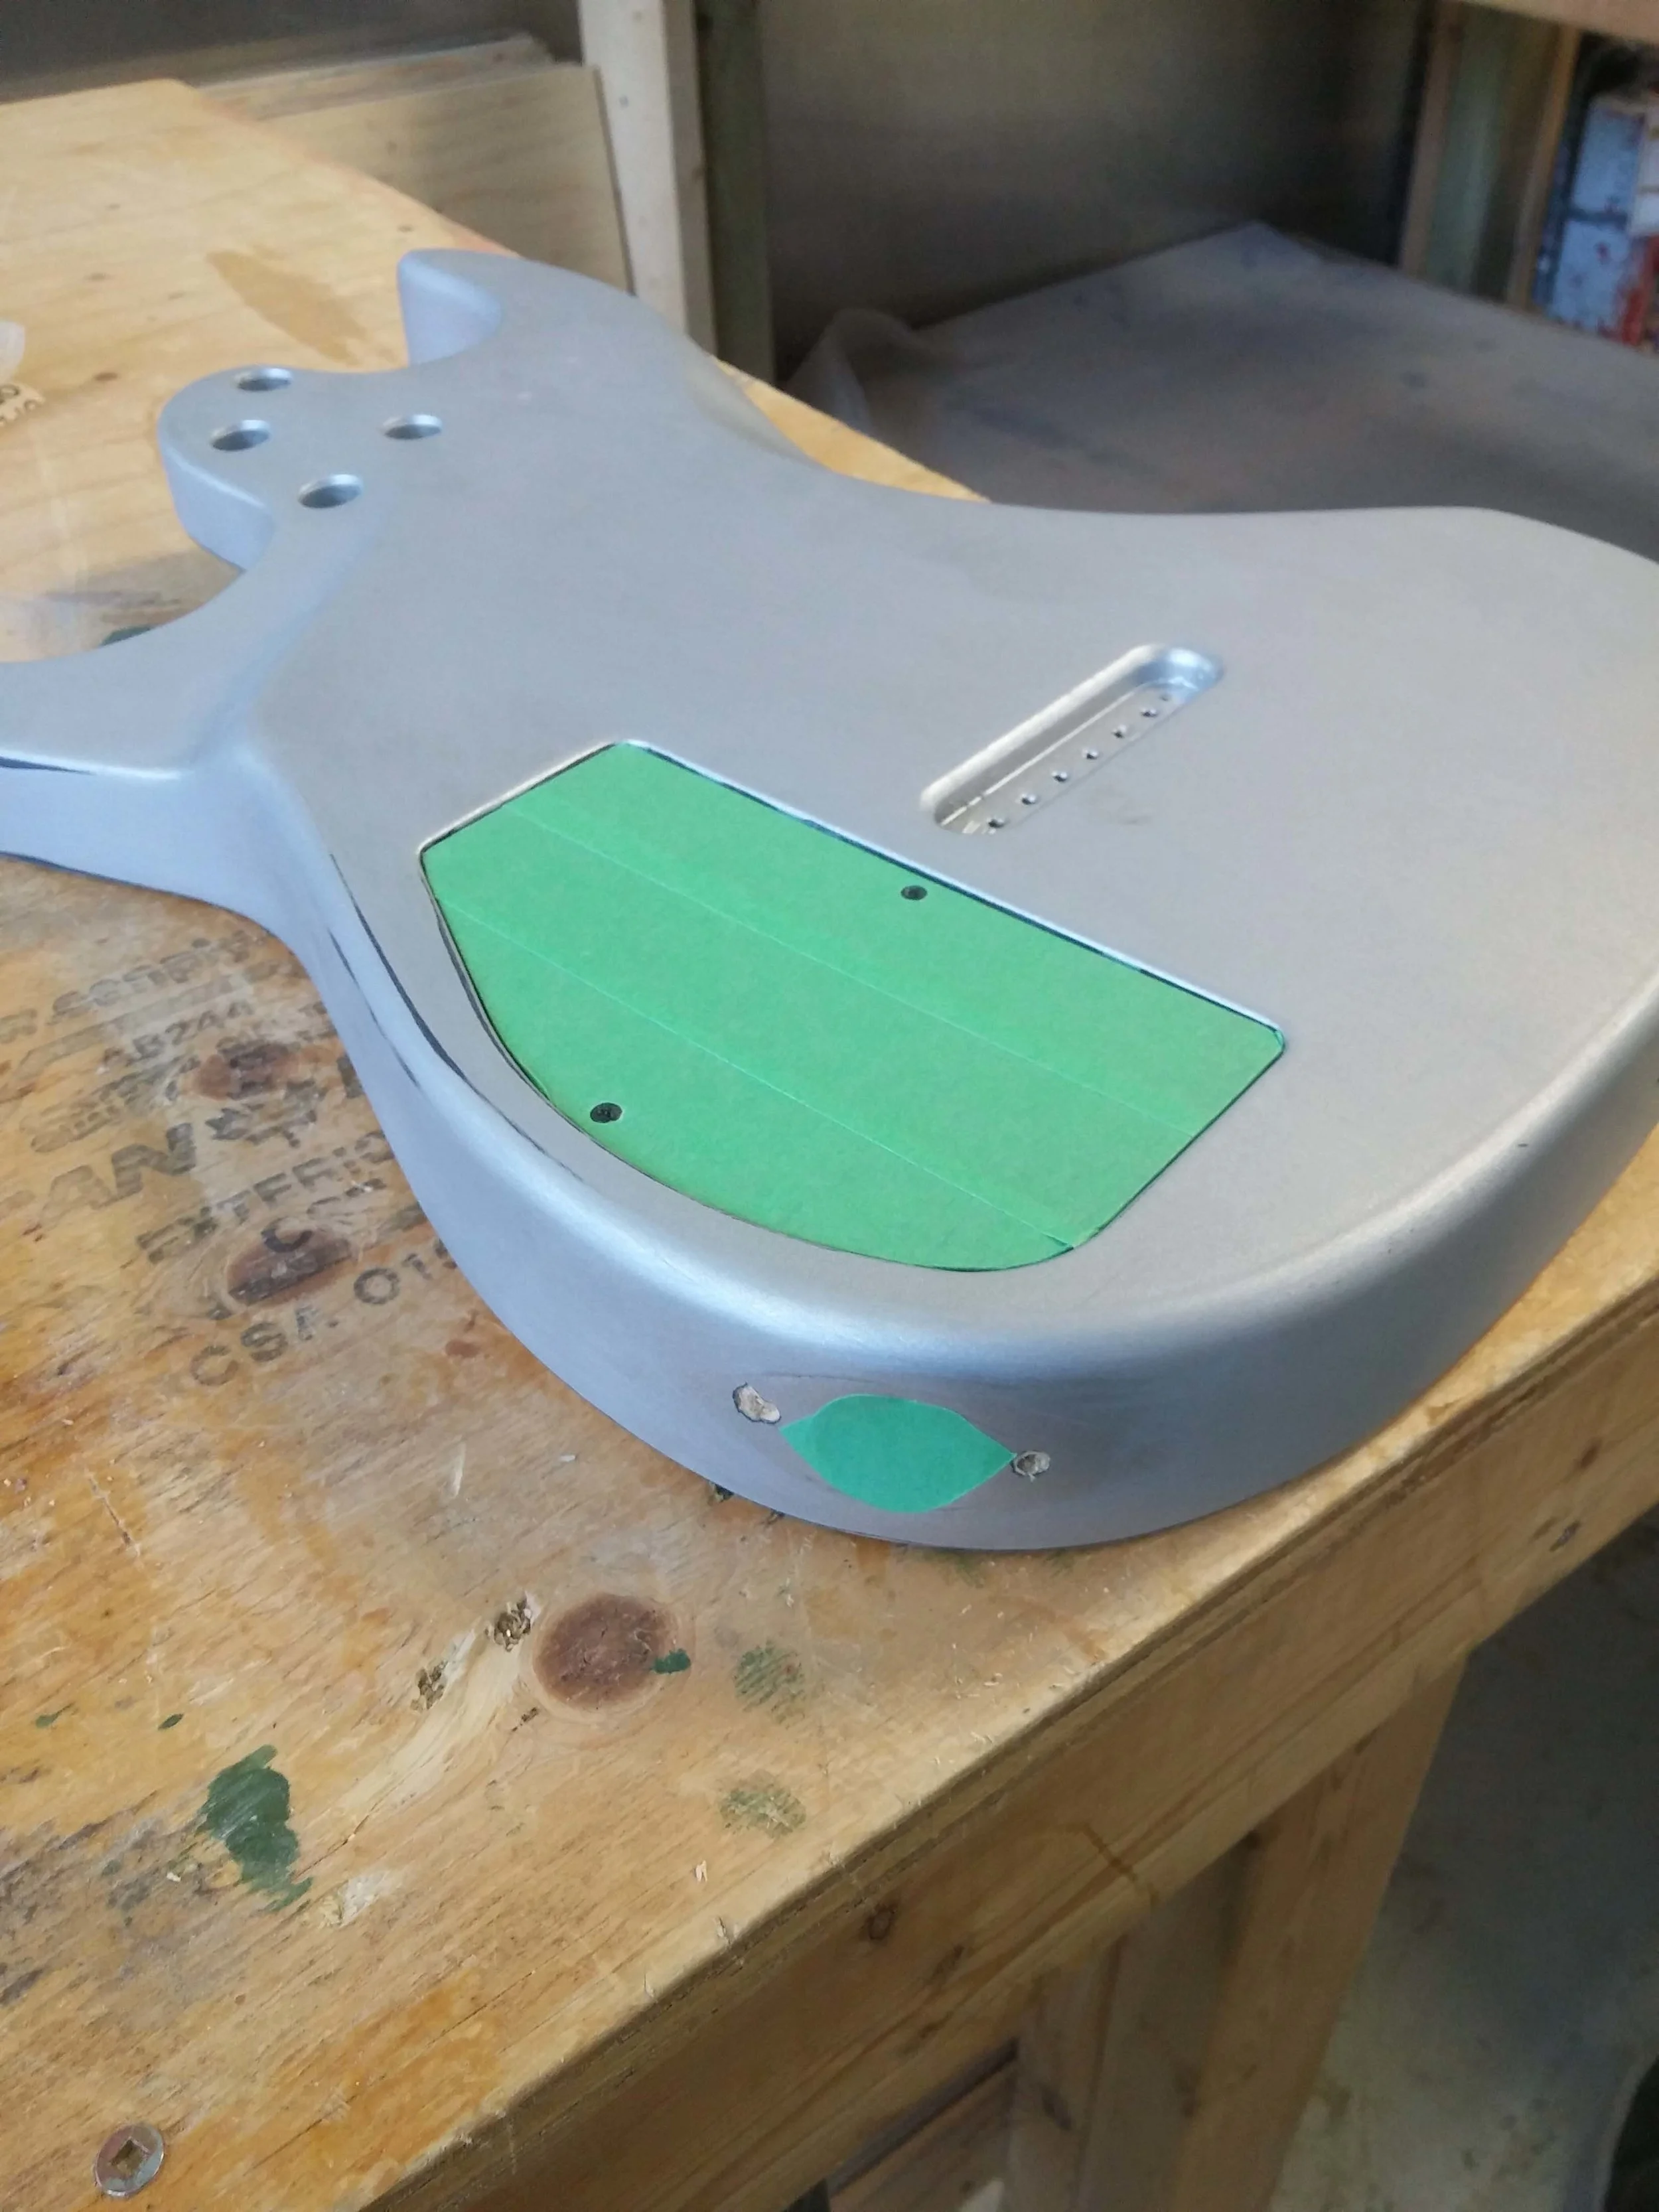
Tape off backside cover plate
Precisely cut tape to edge of face using a sharp matte knife


Spray sides and back of guitar body with desired spray paint
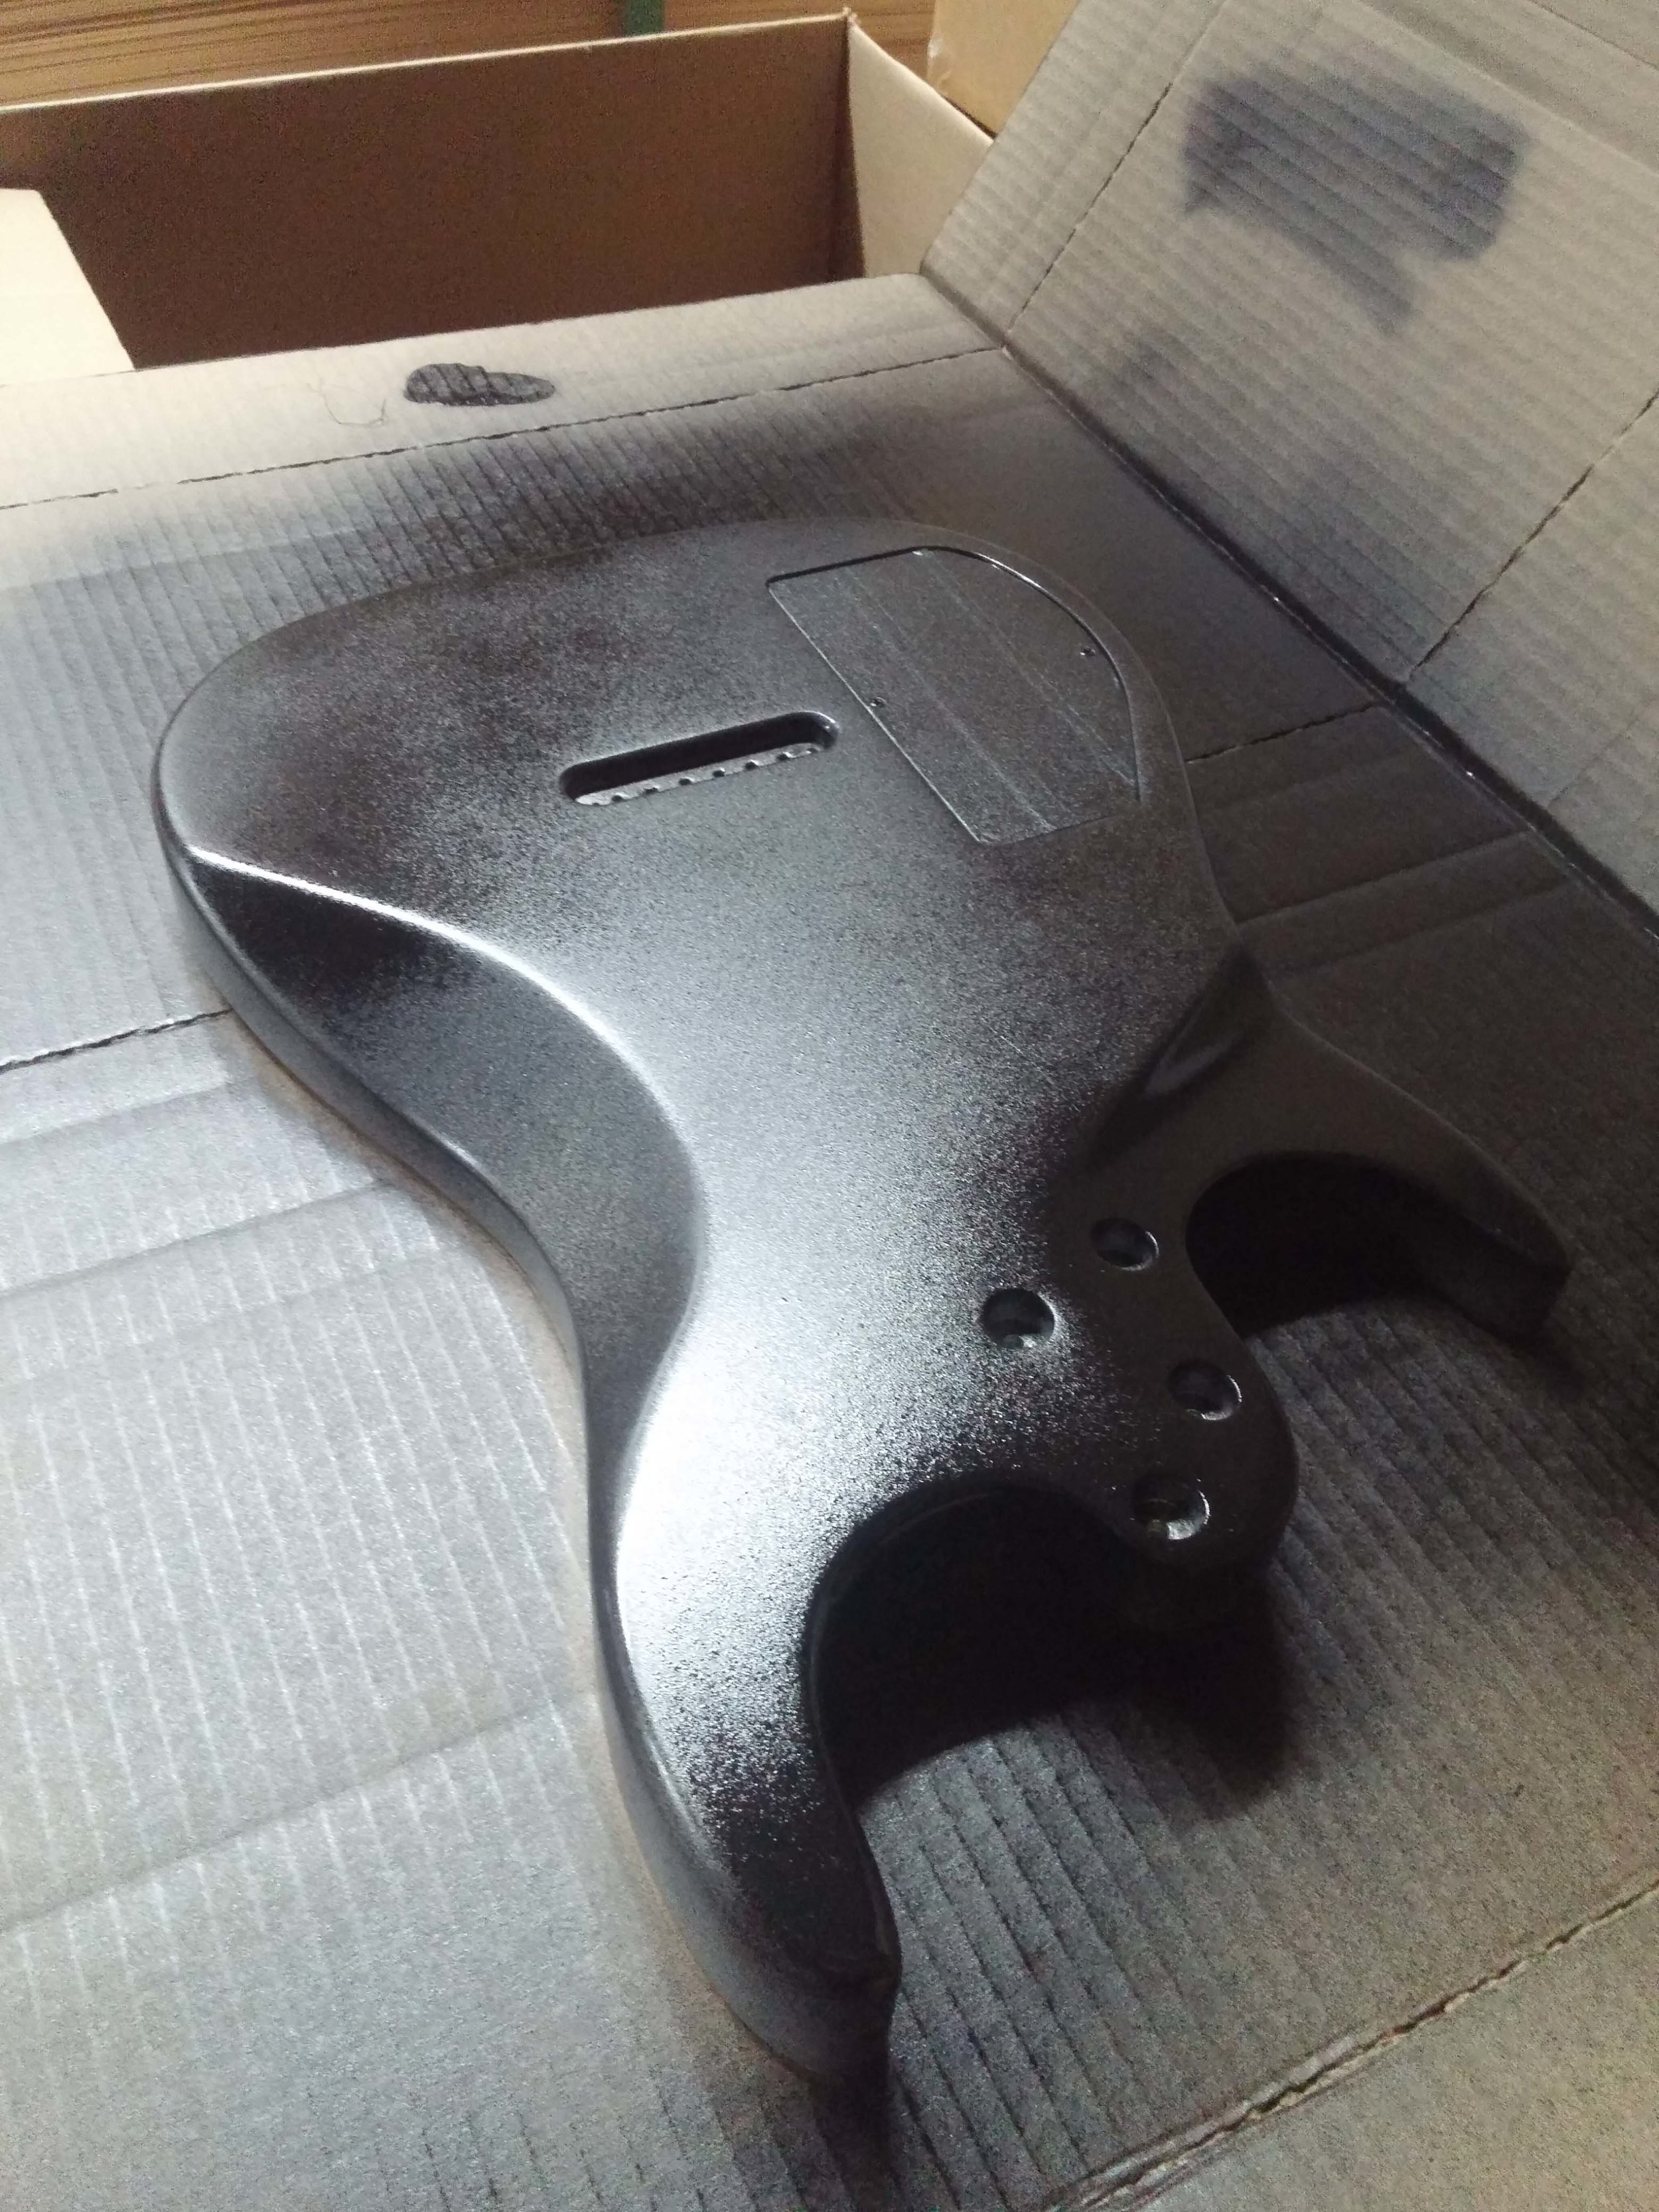
Spray guitar body with polyurethane finish (multiple coats, sanding in between)
Refurbishing the Headstock
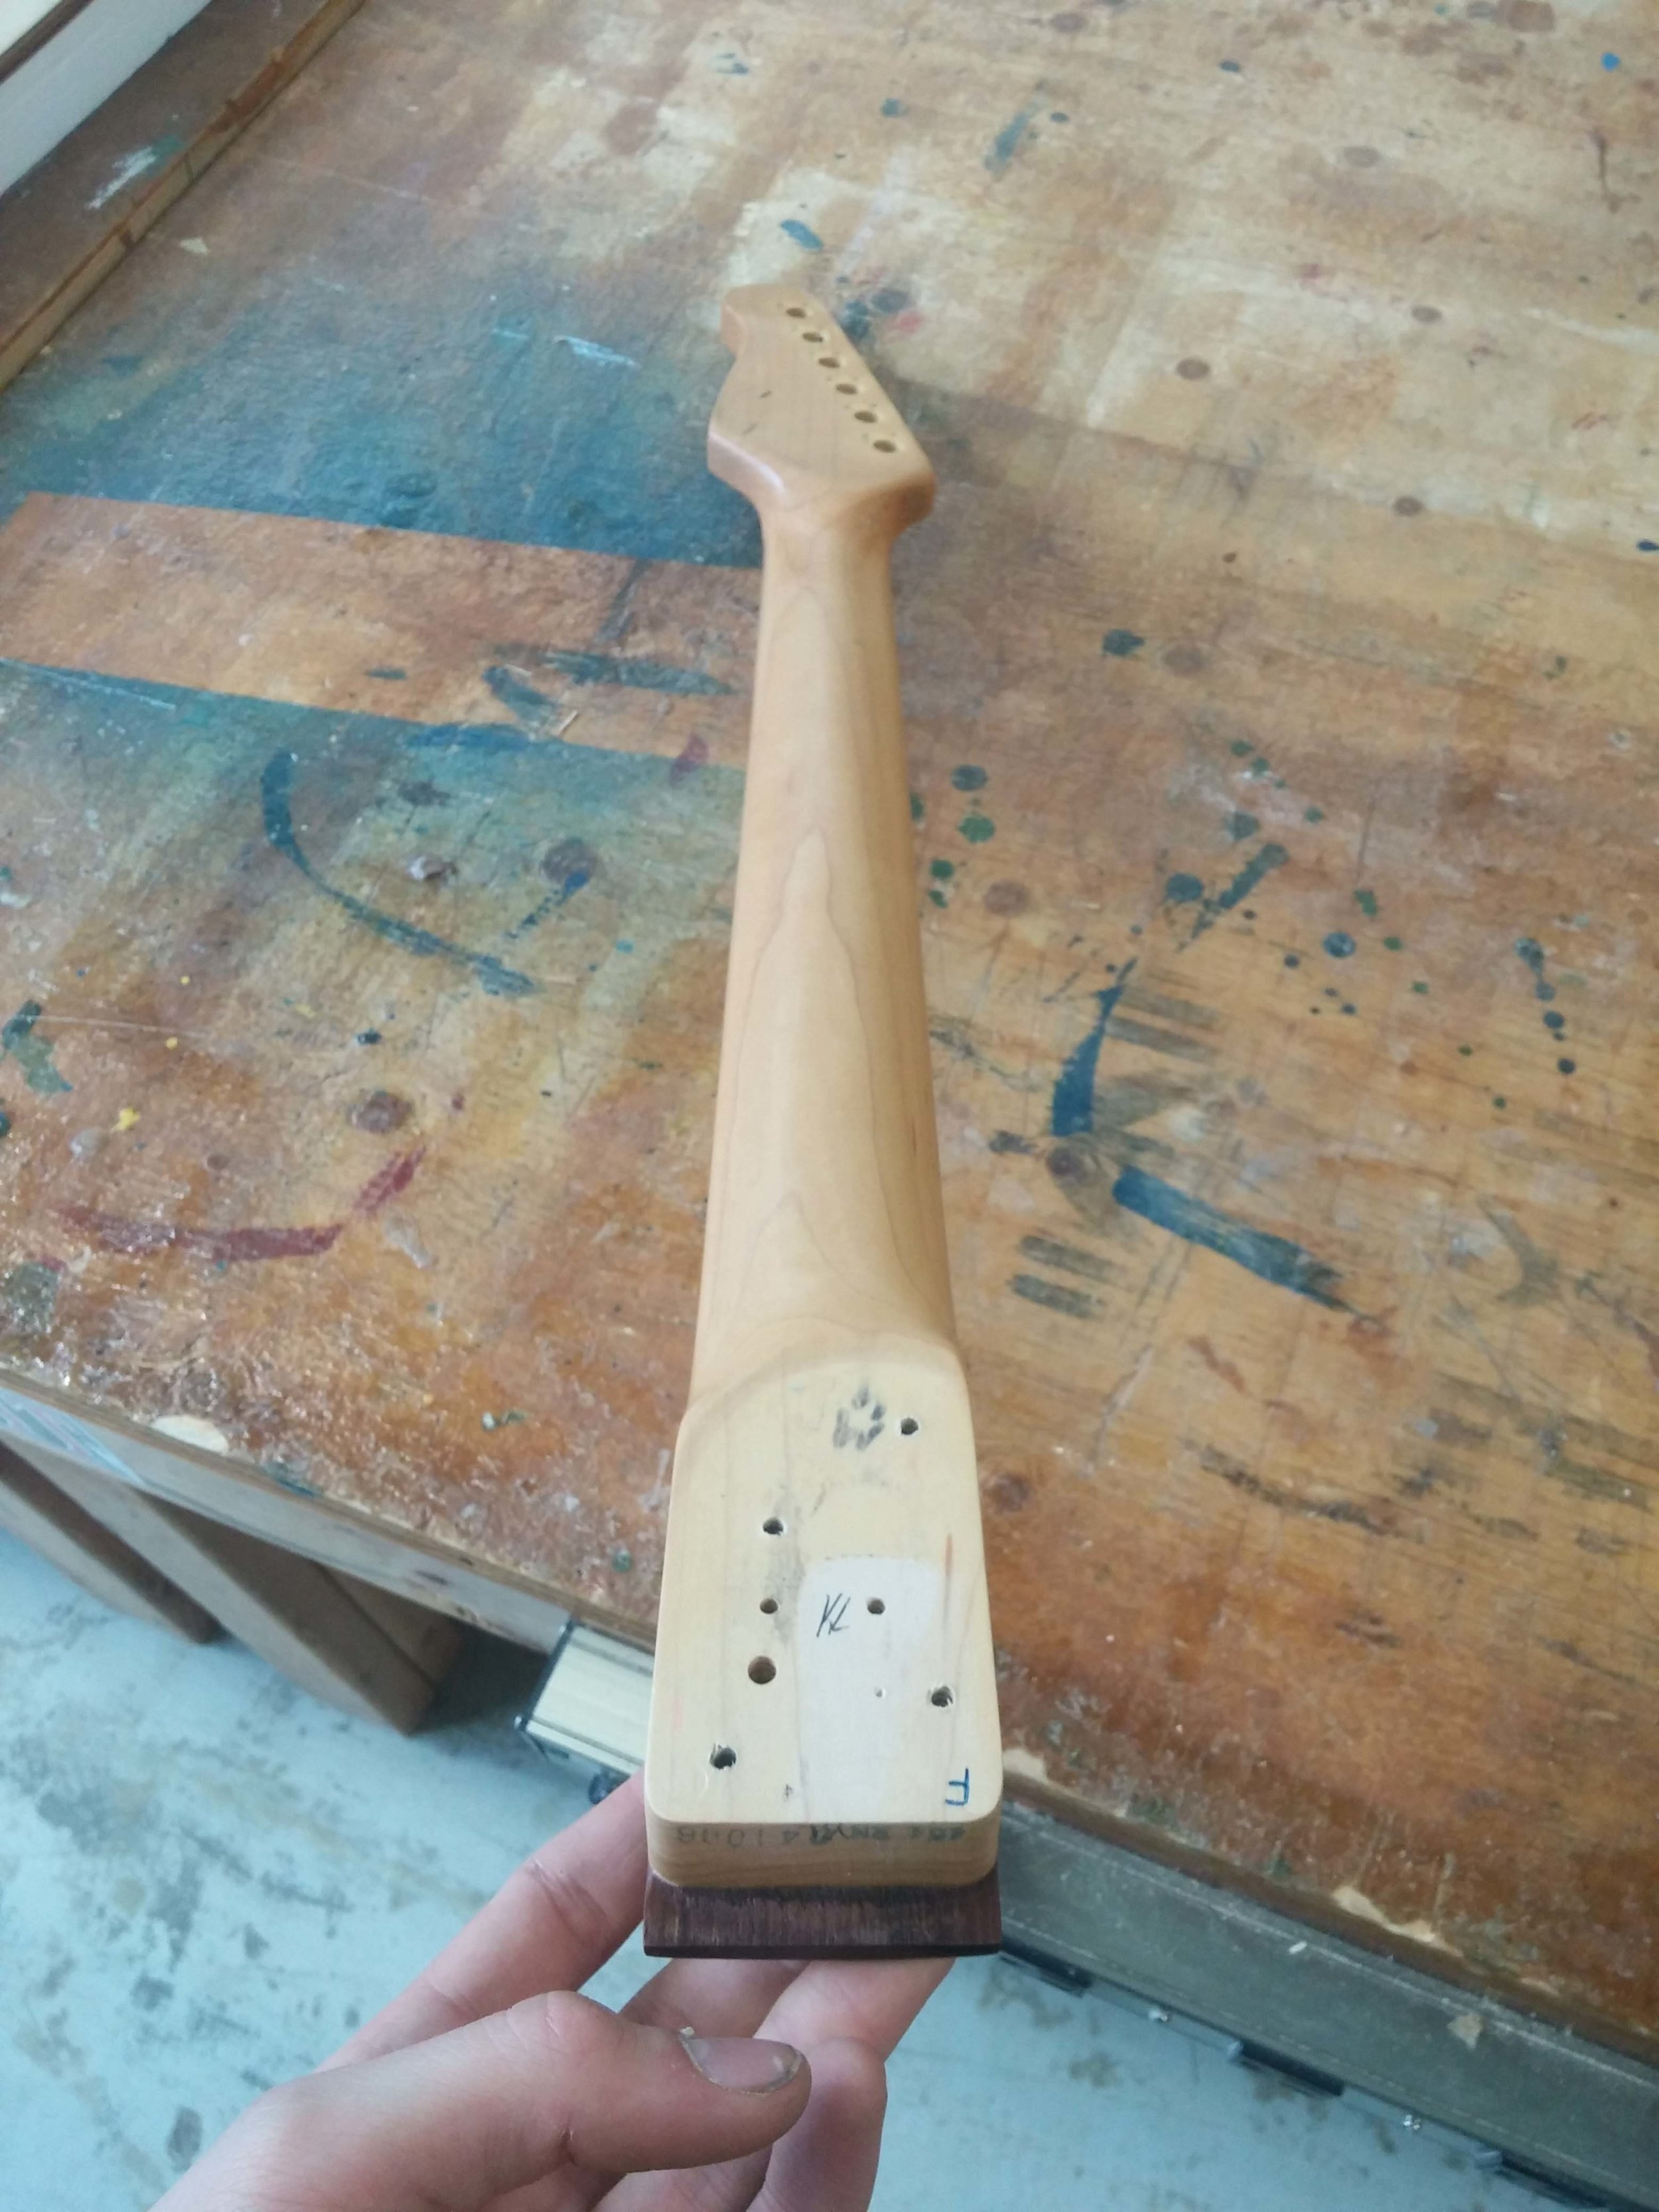

Remove tuning pegs
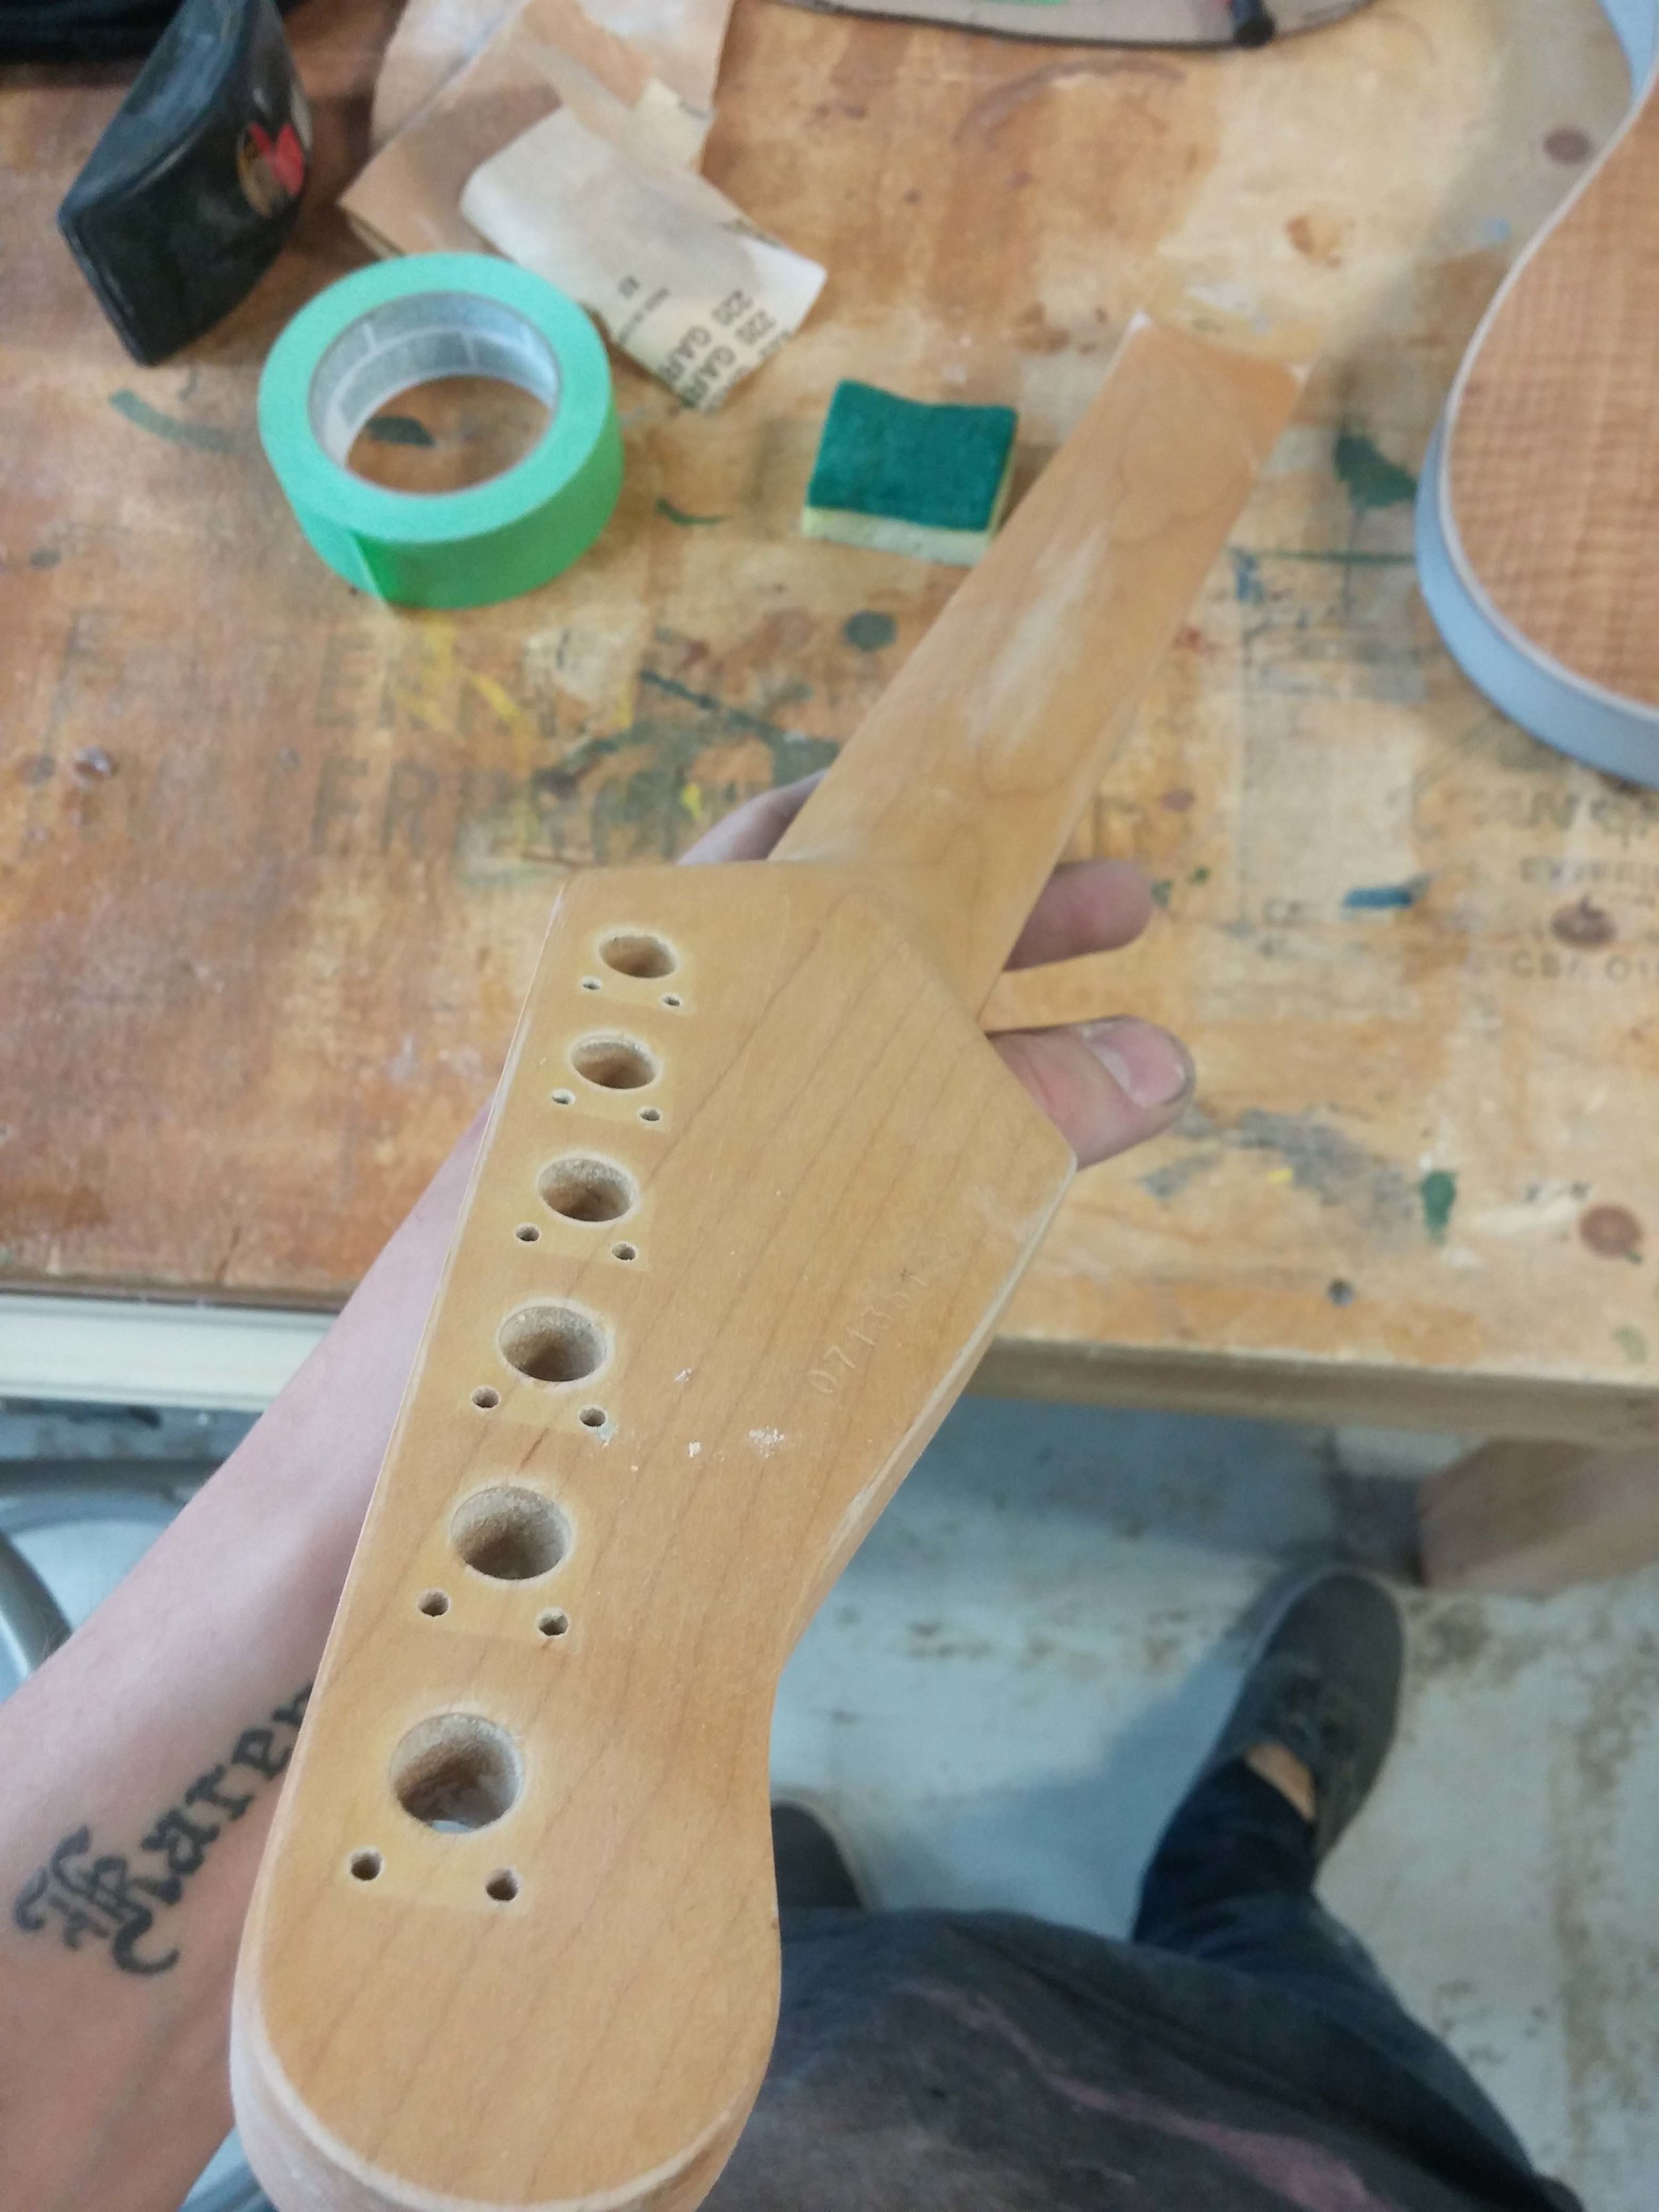
Draw cutting reference line
Clamp guitar neck to a workbench
Cut headstock with a jig-saw
Use a file to round new edges
Use sandpaper to sand the new edge
Refurbishing the GUITAR Neck
Sand off previous finish
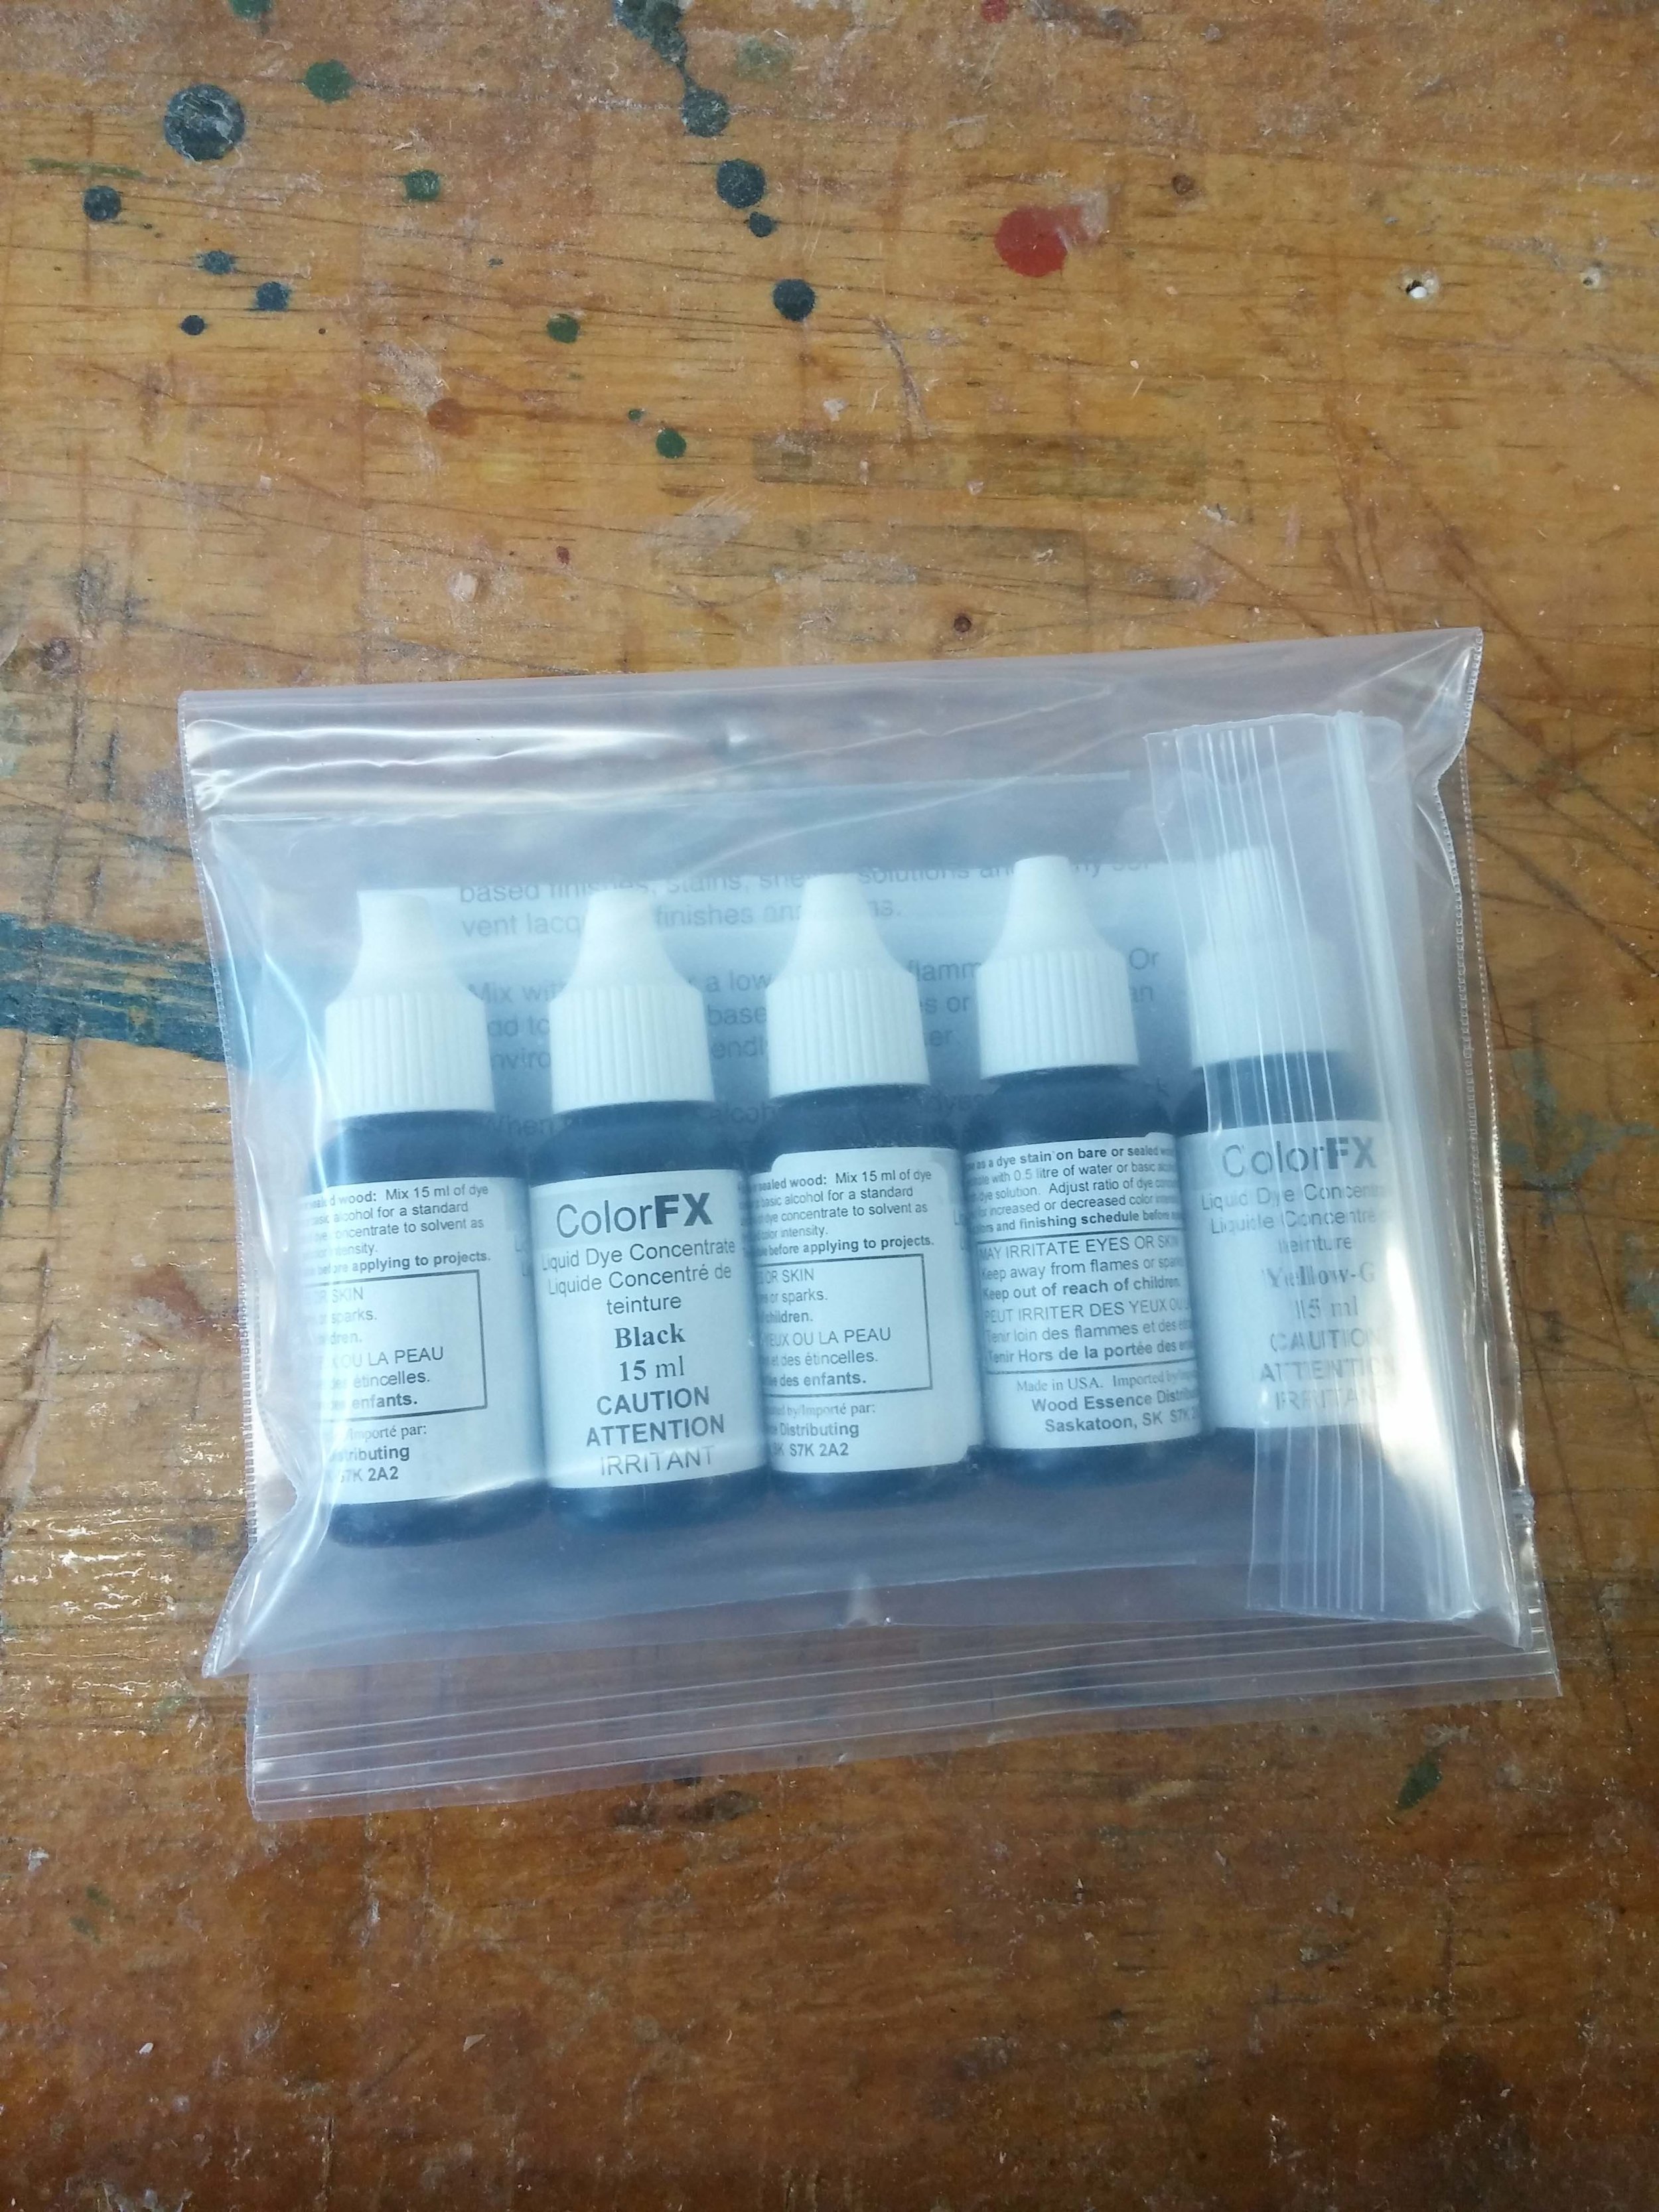
Mix dyes and test on scrap wood until desired stain is achieved
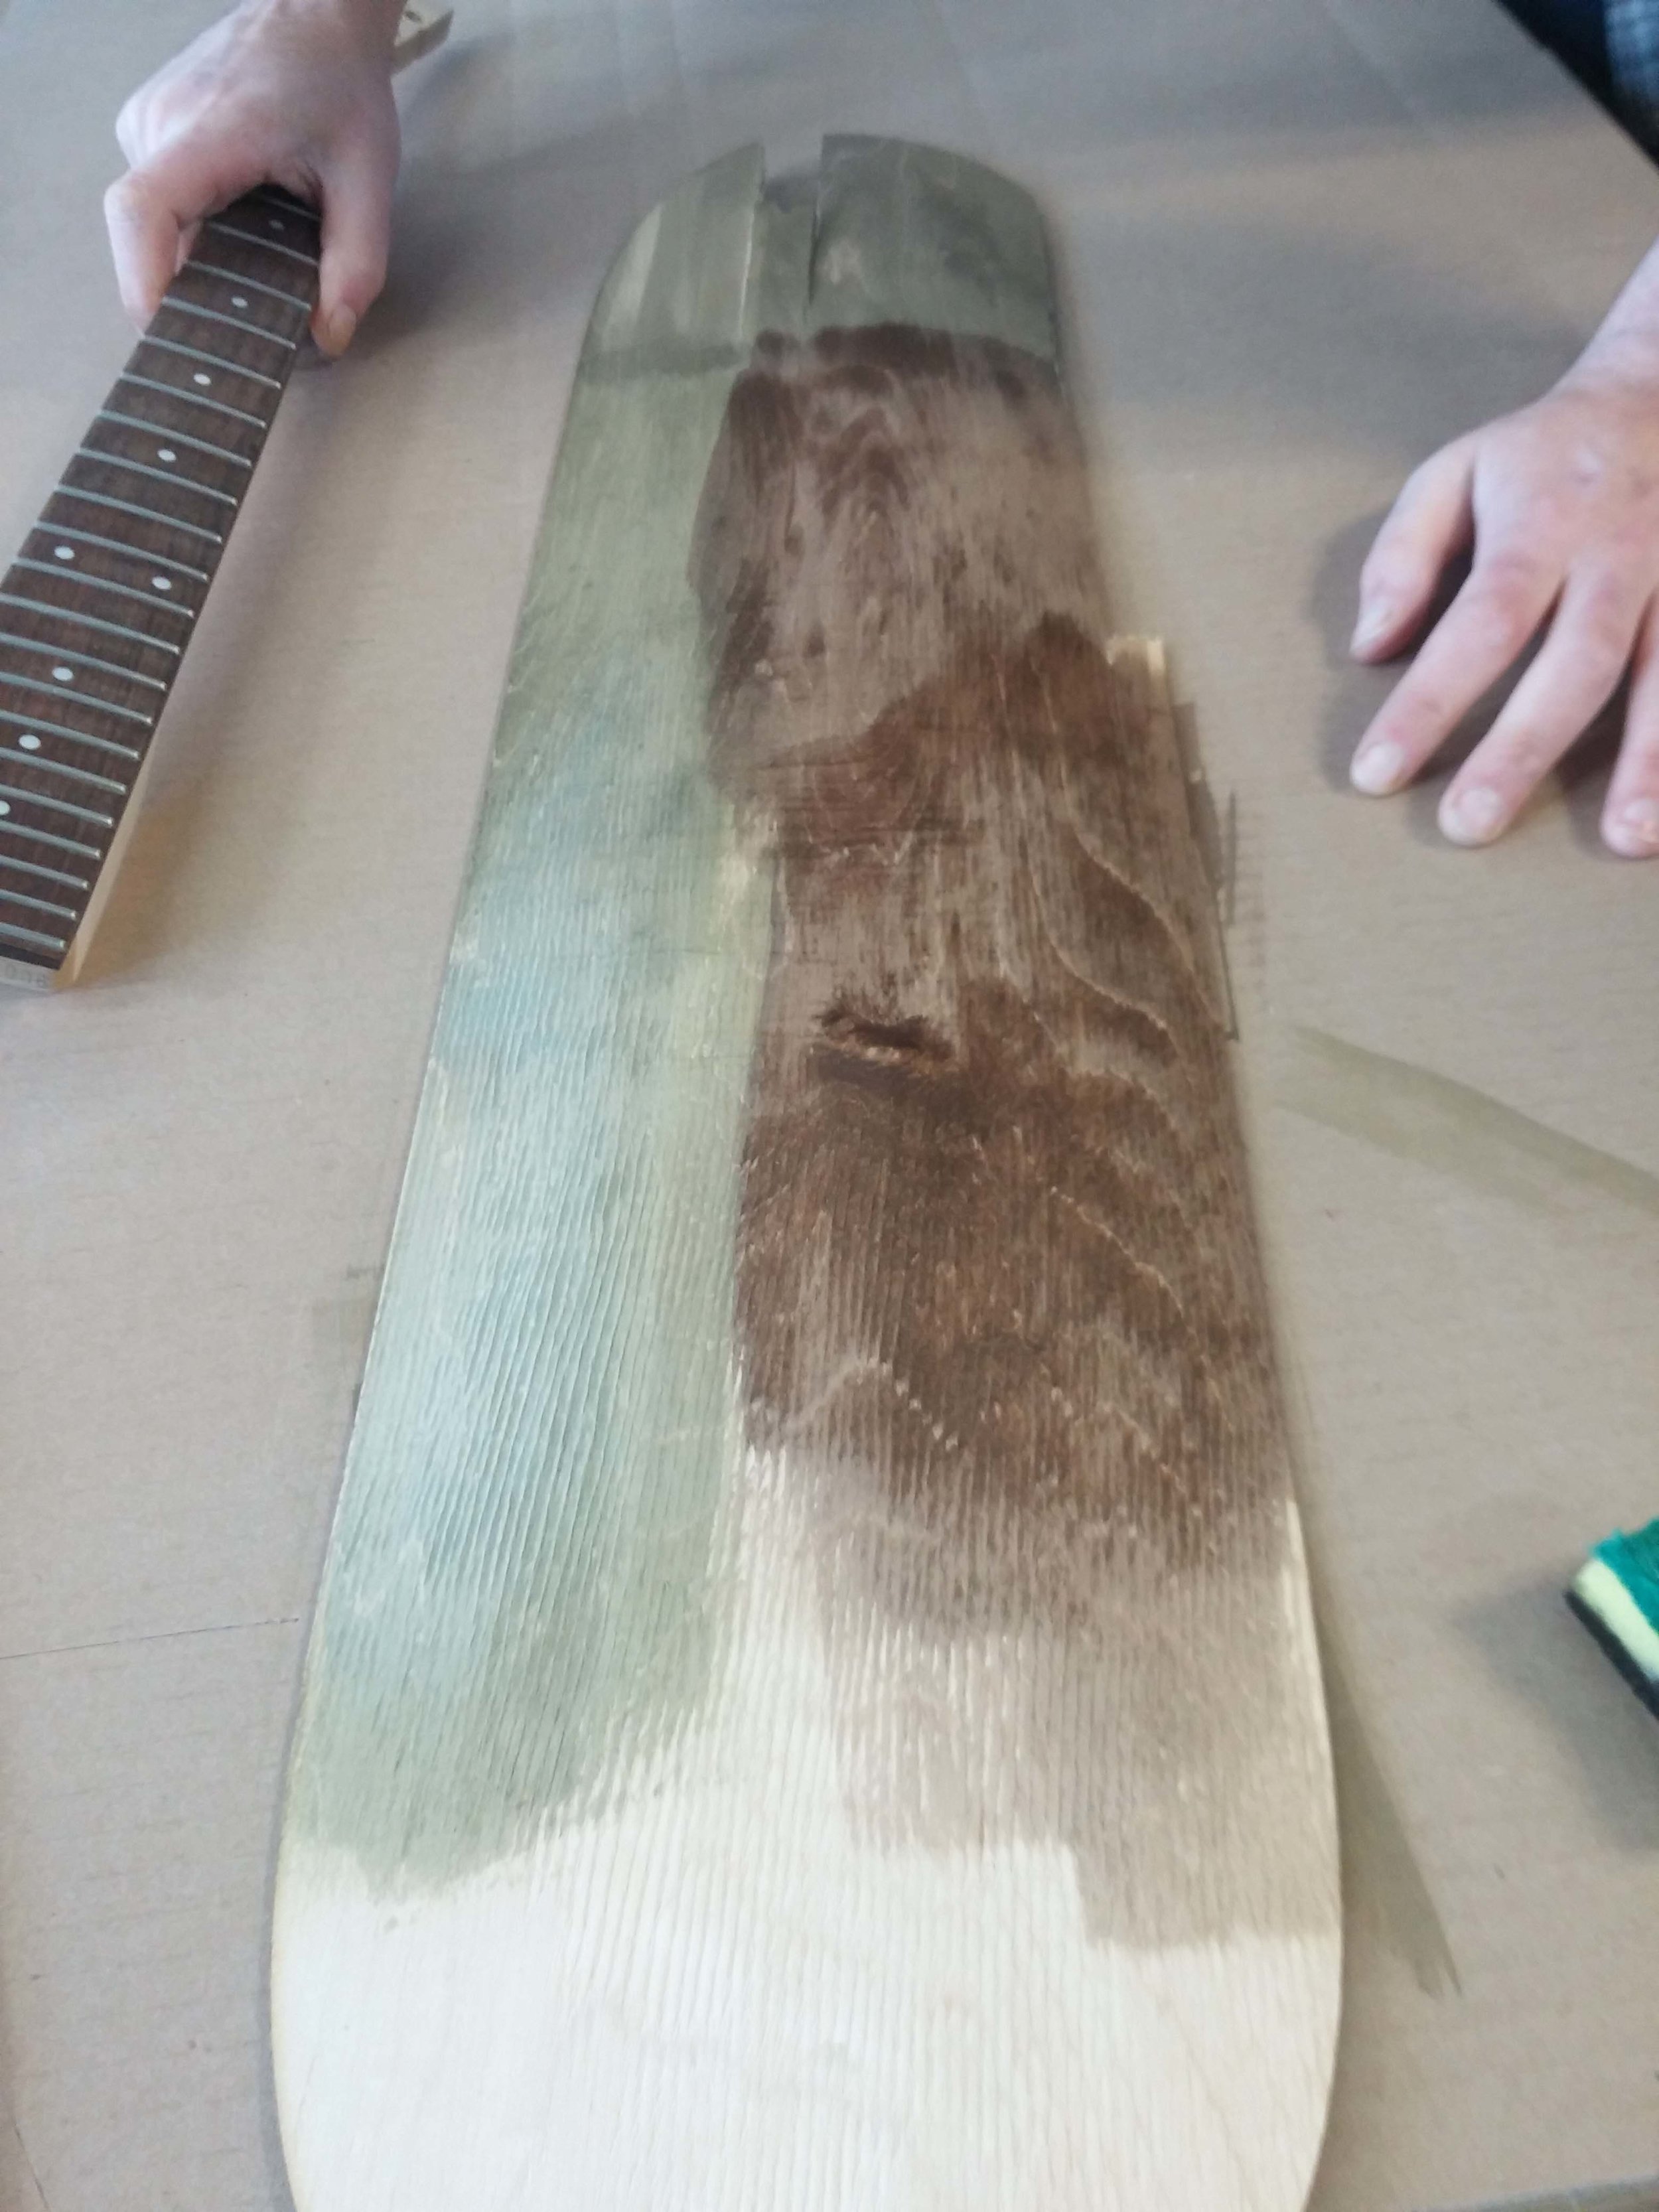

Stain neck using a sponge (apply multiple coats, sanding in between)

Spray neck with polyurethane finish

Apply multiple coats, sanding in between
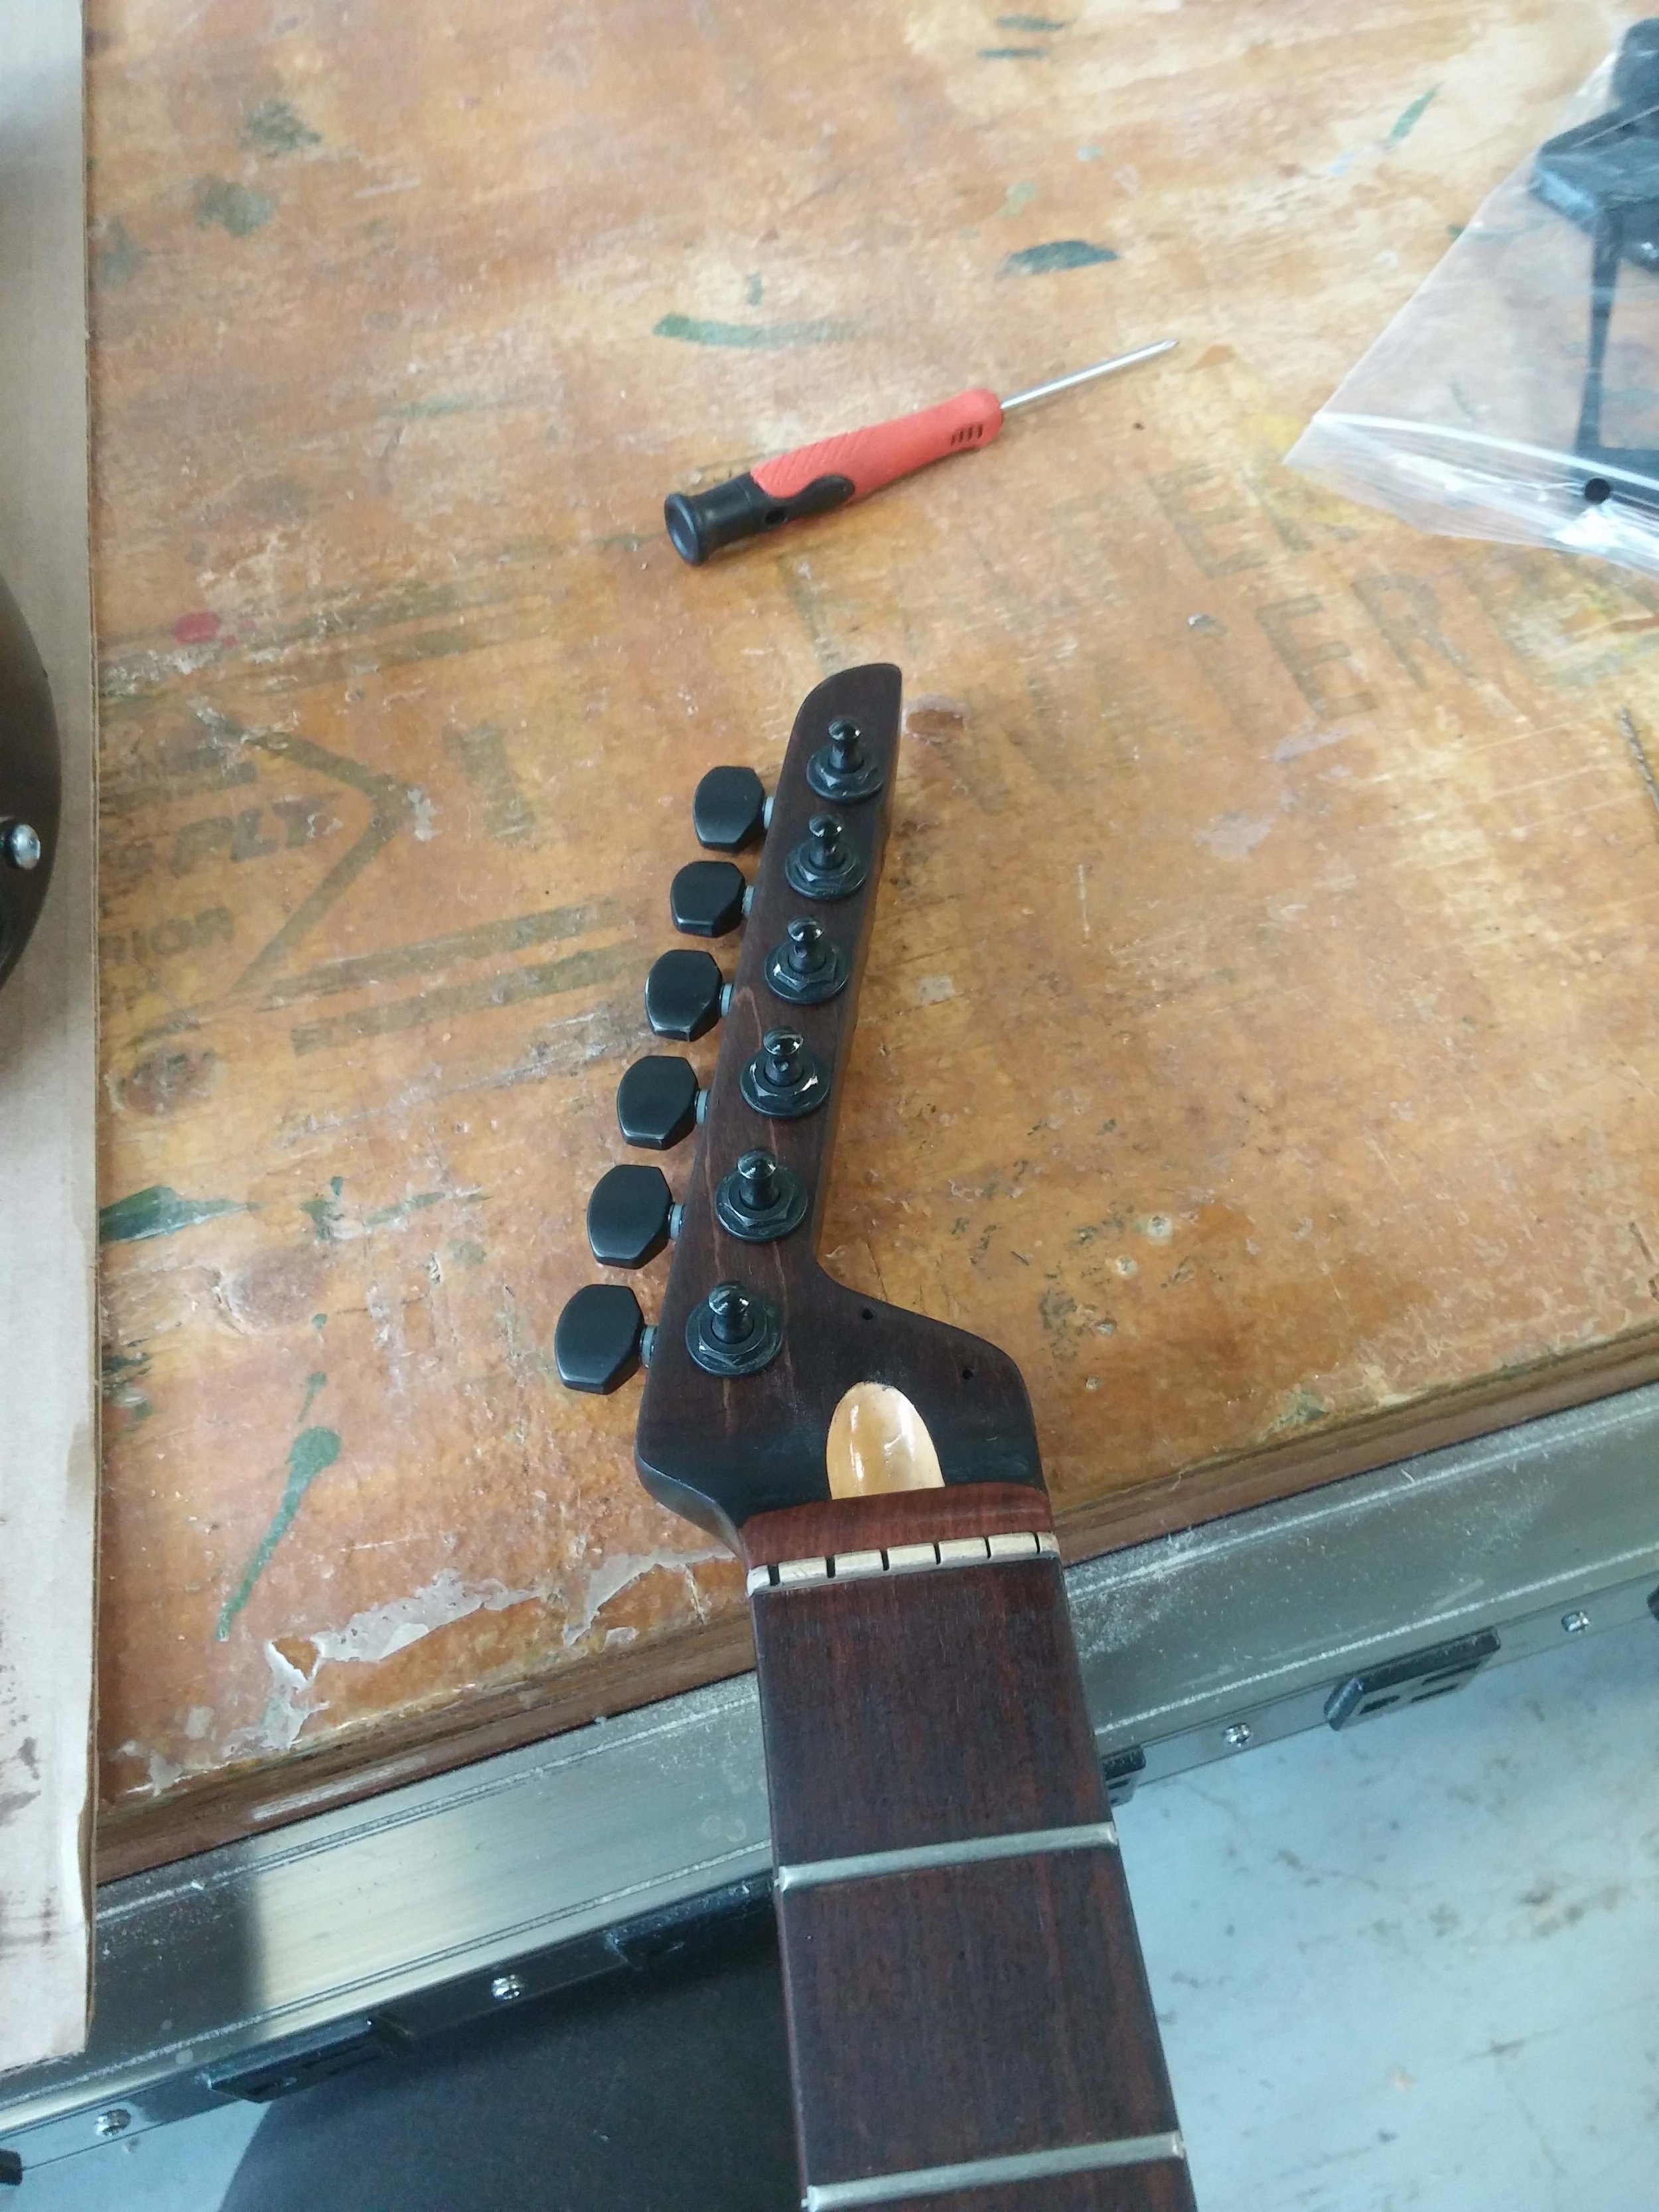
Reassemble all dismantled components
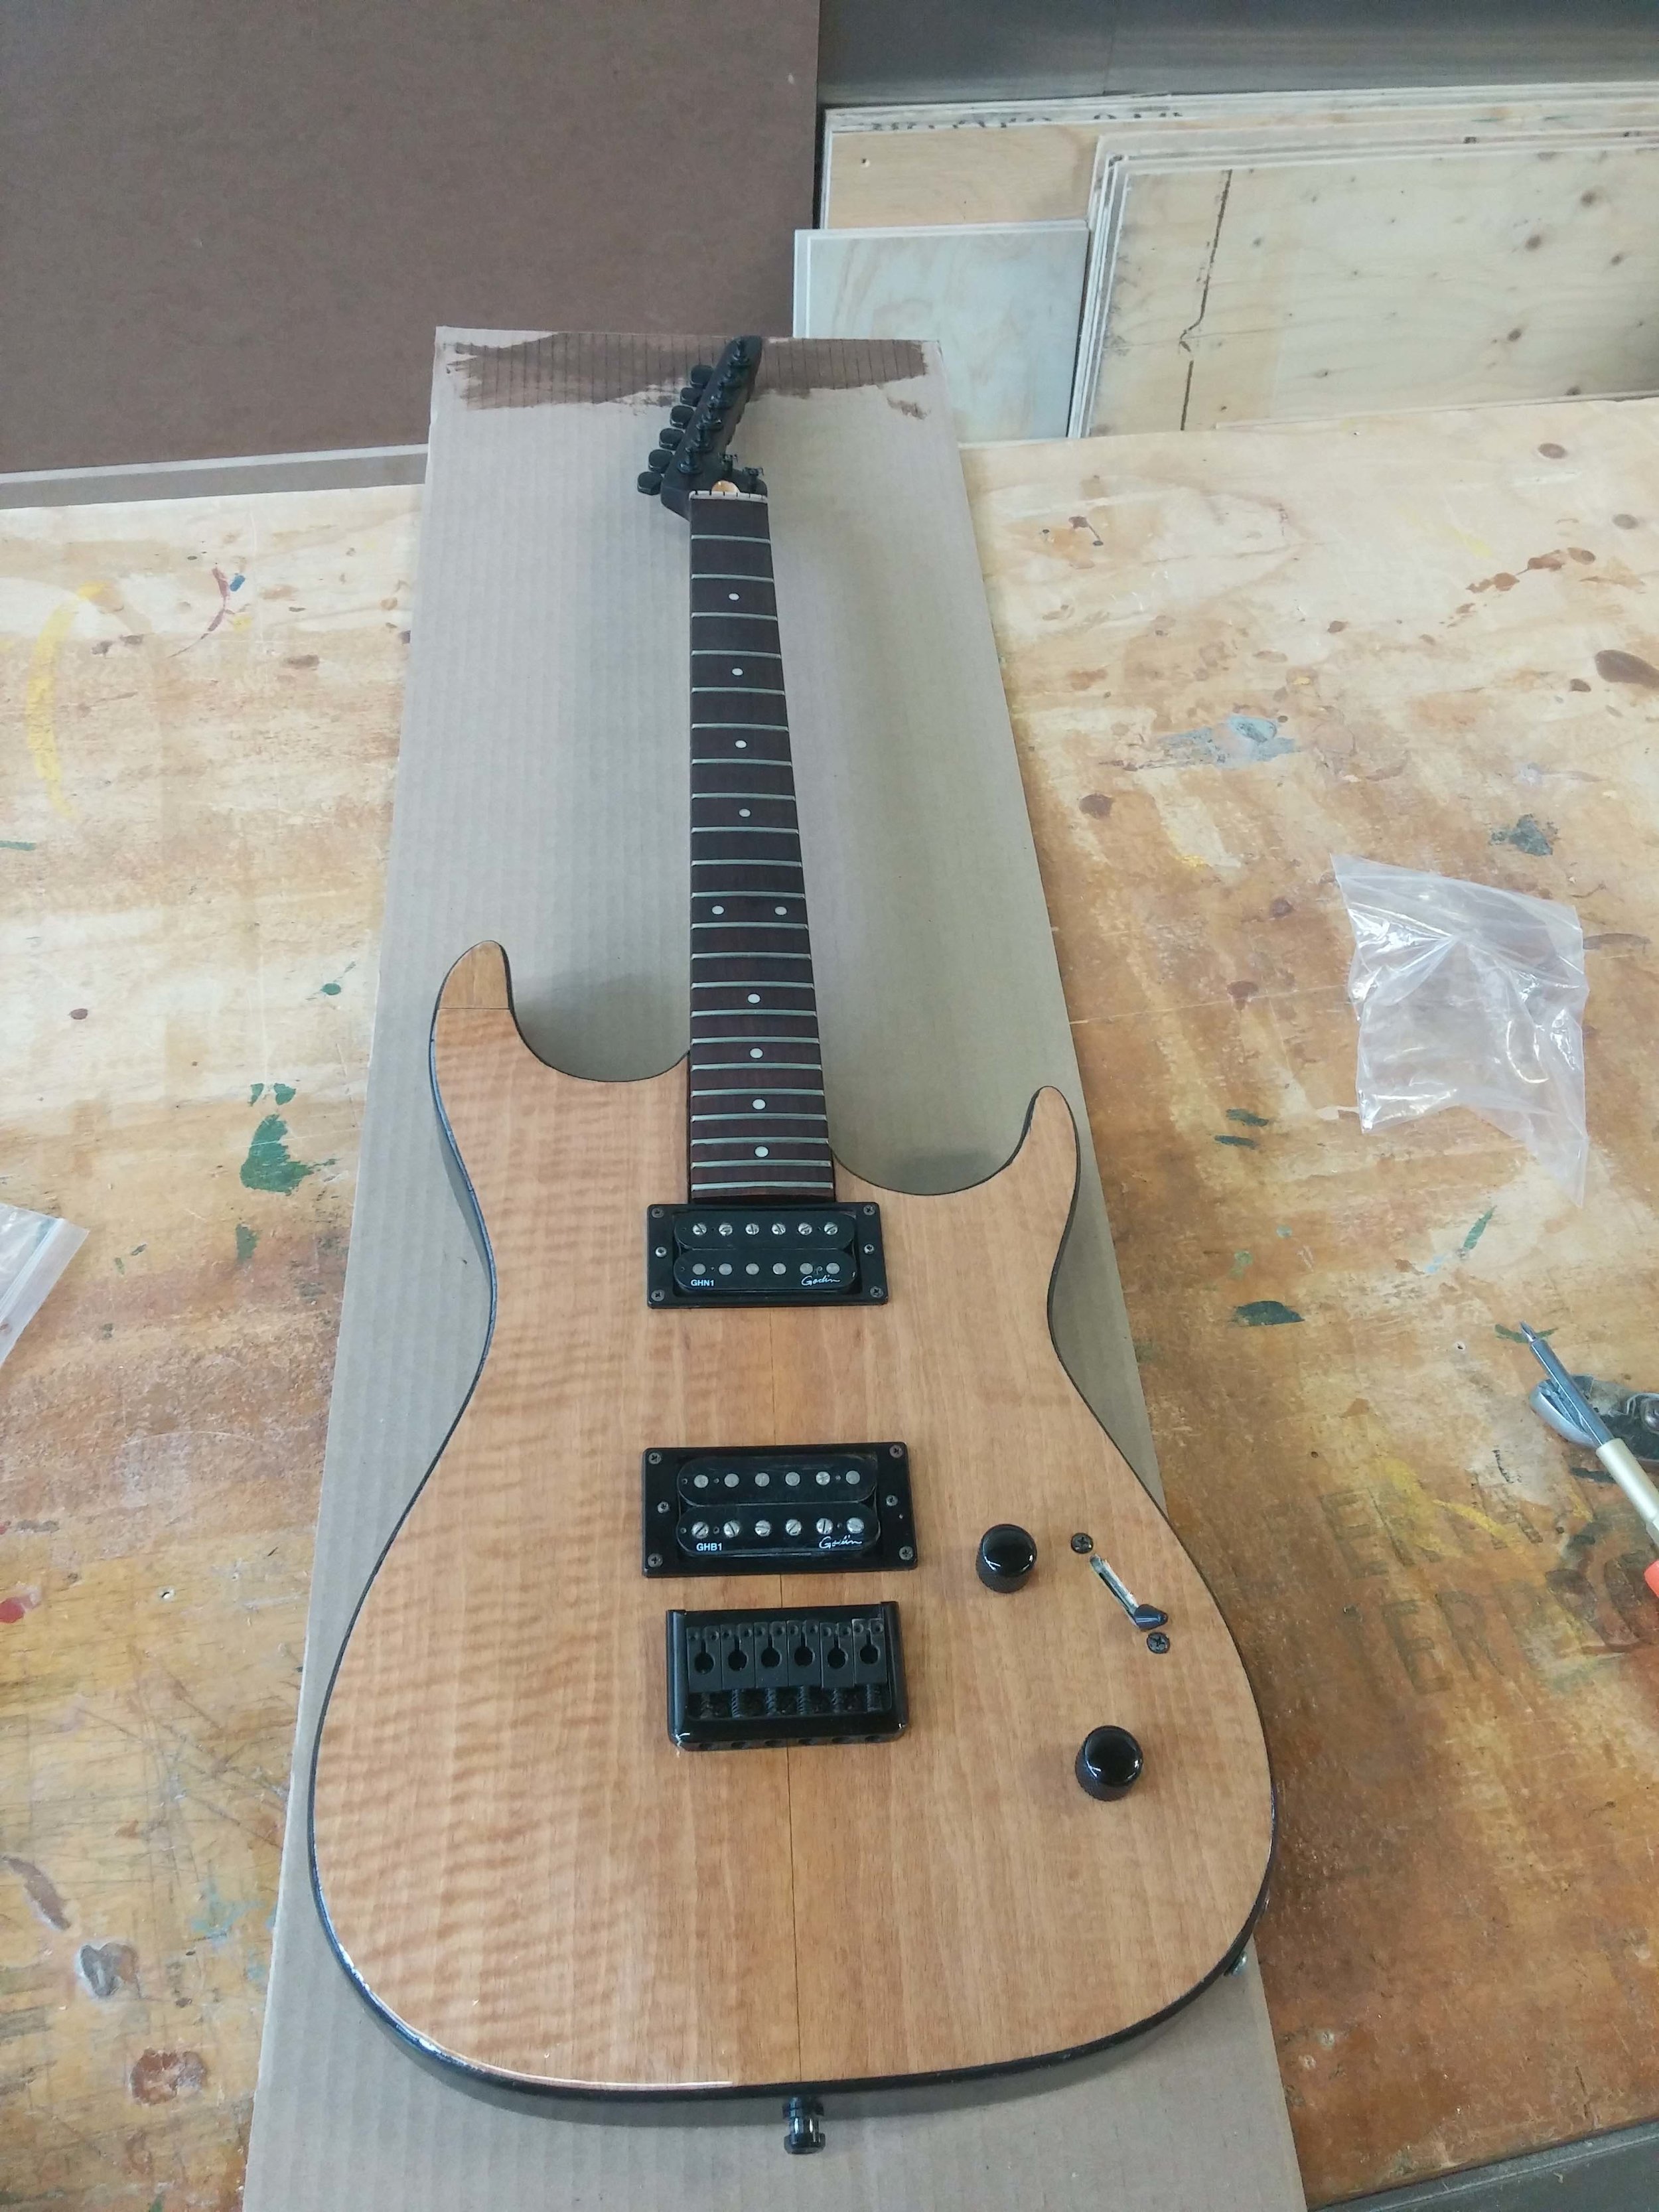
Add fresh strings

Enjoy!